@danerlt
2019-03-12T16:06:33.000000Z
字数 2528
阅读 2061
conda安装后的配置
conda
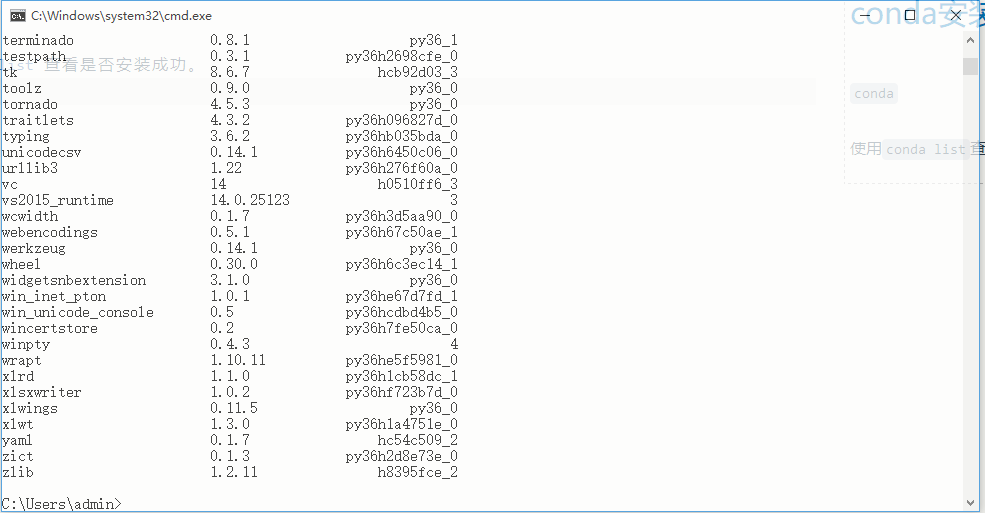
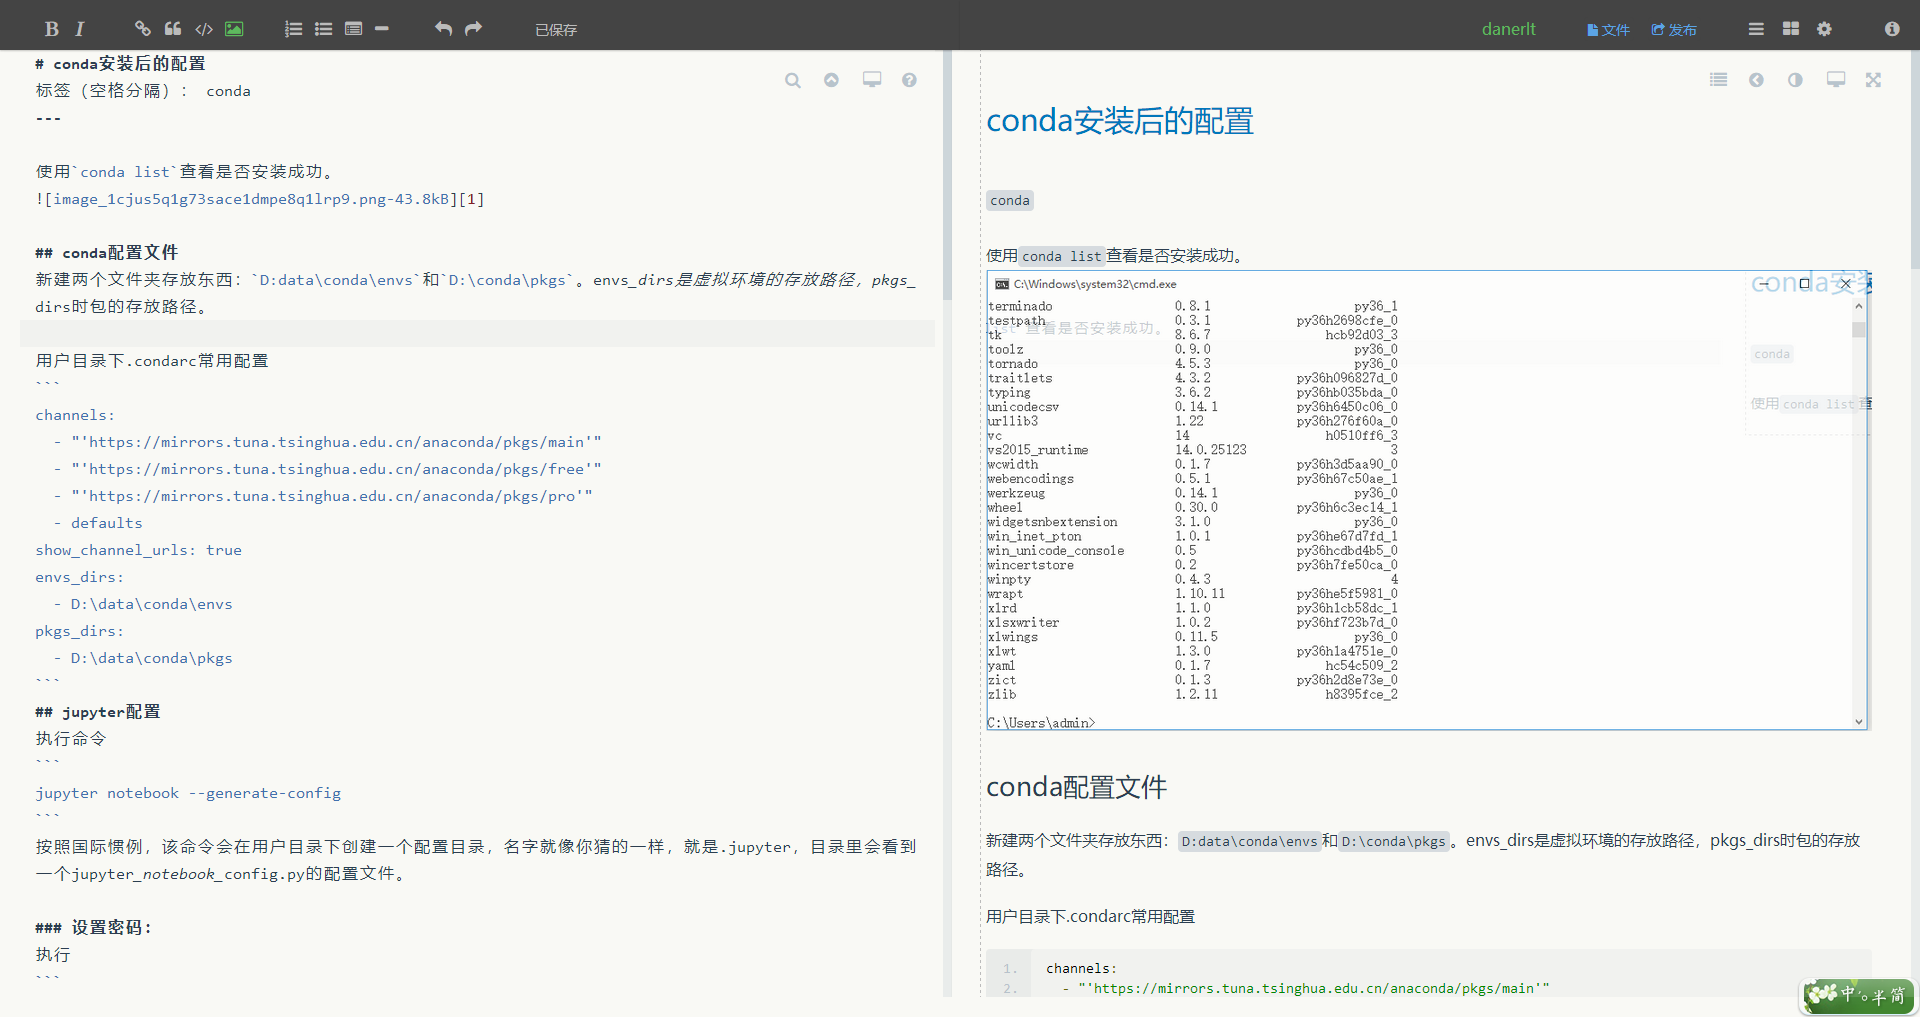
使用conda list查看是否安装成功。
conda配置文件
新建两个文件夹存放东西:D:data\conda\envs和D:\conda\pkgs。envs_dirs是虚拟环境的存放路径,pkgs_dirs时包的存放路径。
用户目录下.condarc常用配置
channels:- "'https://mirrors.tuna.tsinghua.edu.cn/anaconda/pkgs/main'"- "'https://mirrors.tuna.tsinghua.edu.cn/anaconda/pkgs/free'"- "'https://mirrors.tuna.tsinghua.edu.cn/anaconda/pkgs/pro'"- defaultsshow_channel_urls: trueenvs_dirs:- D:\data\conda\envspkgs_dirs:- D:\data\conda\pkgs
jupyter配置
执行命令
jupyter notebook --generate-config
按照国际惯例,该命令会在用户目录下创建一个配置目录,名字就像你猜的一样,就是.jupyter,目录里会看到一个jupyter_notebook_config.py的配置文件。
设置密码:
执行
jupyter notebook password
输入密码即可.
或者打开ipython,生成sha1的密码,如下:
from notebook.auth import passwdpasswd()#Enter password#output sha1:1573ff95a8c2:1efc47f1bdc25e2d98faff23eb7277749d496909
然后生成一个自签名认证的key,默认生成路径在用户目录下,如下:
openssl req -x509 -nodes -days 365 -newkey rsa:4096 -keyout jkey.key -out jcert.pem
主要配置项:
# 登录密码,默认没有密码,所以每次启动服务器后都会产生一个随机数token,配置了密码后就不用每次使用随机数token了c.NotebookApp.password = 'sha1:1573ff95a8c2:1efc47f1bdc25e2d98faff23eb7277749d496909'## 服务的端口,用默认的8888即可c.NotebookApp.port = 8888## 是否需要自动弹出浏览器,服务器端一般不需要c.NotebookApp.open_browser = False## The directory to use for notebooks and kernels.## 不设置的话就是启动命令所在的目录c.NotebookApp.notebook_dir = 'E:\notebook'#如果要去远程可访问,还要打开ip限制(默认jupyter notebook只能本机访问):#如果设置成c.NotebookApp.ip = '*'报错的话可以设置成,c.NotebookApp.ip = '0.0.0.0'#c.NotebookApp.ip = '*'c.NotebookApp.ip = '0.0.0.0'c.NotebookApp.certfile = '/root/jcert.pem'c.NotebookApp.keyfile = '/root/jkey.key'
由于jupyter使用的8888作为默认端口,所以我需要把端口给开放并重启防火墙。通过如下代码设置:
firewall-cmd --zone=public --add-port=8888/tcp --permanentsystemctl restart firewalld.service
到这里所有的安装和基本的设置都已经完成,直接在命令行输入:jupyter notebook.就可以使用了。
jupyter扩展
关联Jupyter Notebook和conda的环境和包——“nb_conda”;Markdown生成目录;增加内核——“ipykernel”;
conda install -y nb_condaconda install -c conda-forge -y jupyter_contrib_nbextensionsconda install -y ipykernelconda install -y jupyter_nbextensions_configurator# 代码补全jupyter contrib nbextension install --userjupyter nbextensions_configurator enable --user# 代码格式化pip install yapf
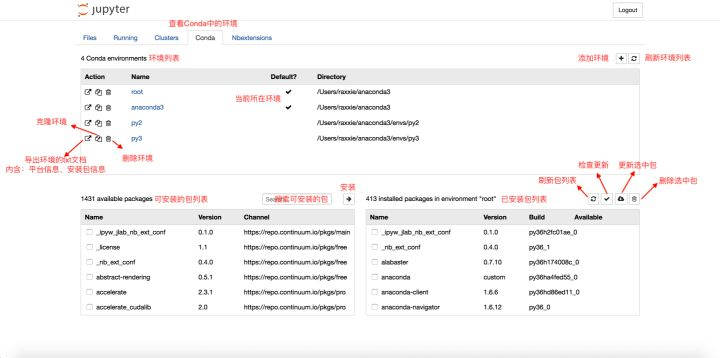
可以在Conda类目下对conda环境和包进行一系列操作。
解决Pycharm不能使用jupyter问题
在jupyter_notebook_config.py加入下面配置即可
c.NotebookApp.disable_check_xsrf = Truec.NotebookApp.token = ''
服务器配置jupyter开机启动
在/etc/init.d目录下新建一个start_jupyter.sh文件,并且添加执行权限。
cd /etc/init.dtouch start_jupter.shtouch /var/log/jupyter.log # jupyter的日志记录chmod +x start_jupyter.sh
start_jupyter.sh内容如下:
#!/bin/sh#chkconfig: 2345 80 90#description:开机自动启动的脚本程序jupyter_log='/var/log/jupyter.log'if [ ! -f ${jupyter_log}]; thentouch ${jupyter_log}finohup jupyter notebook >> ${jupyter_log} &
然后执行:
chkconfig --add start_jupyter.shchkconfig tart_jupyter.sh on
设置为开机启动。第一次执行可以使用./start_jupyter.sh执行。
