@daaoling
2017-02-09T08:01:23.000000Z
字数 4305
阅读 3359
NGUI Unity
NGUI With Particle System 解决方案
Scale Particle System
both support billbord and mesh render mode
As far as i kown, particle system is not effect by scale and seem there is no way scale the particle system.
But sometimes ui size will chagne according to the screen rate change, the particle system will also chagned to adjust the ui arena.
Mesh Render Mode
Here is the some guide to write a shader to use scale particle system to fit ui system
Cause billbord and mesh render mode has different model space, there i will describle billbord particle system first
Theroy of scale particle system is simple, look the pic below, just scale model space coordinate
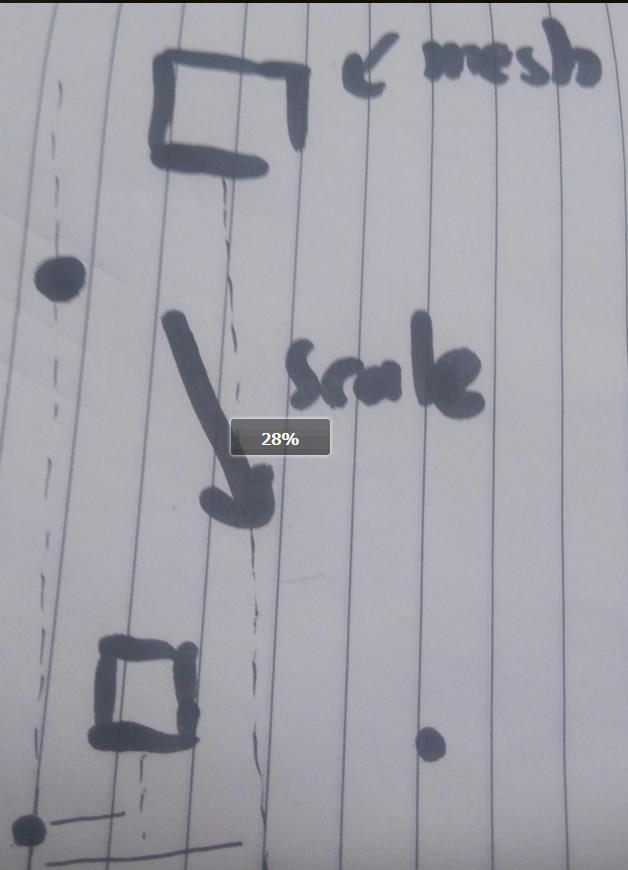
pseudo code:
其他粒子的位置( = 相对于物体的距离) *= scale
Billbord Render Mode
But there is a something you should notice, when render mode is billbord, the model space origin is in camera pos, like this pic below

不同于之前, 物体的位置也就是粒子mesh原点的位置,
这里物体的位置和粒子mesh原点不是同一个位置,所以你要先算出物体相对于粒子mesh原点的距离,然后算出其他粒子和这个物体相对位置距离进行缩放。
pseudo code:
距离 = 其他粒子的位置 - 物体的位置距离 *= scale其他粒子的位置 += 距离
关键代码:
void OnWillRenderObject(){if (target != null && uiRoot != null){if (pRenderer.renderMode != ParticleSystemRenderMode.Mesh){Vector3 cameraPos = target.worldToCameraMatrix.MultiplyPoint(transform.position);//这个位置就是物体位置相对于粒子mesh的距离dyMaterial.SetVector(Shader.PropertyToID("_Position"), cameraPos);}float scale = 648.0f / uiRoot.manualHeight ; // UI系统的缩放系数dyMaterial.SetVector(Shader.PropertyToID("_Scale"), Vector3.one * scale);}}
这里我们可以考虑shader multiply的方式来针对不同render mode的粒子进行不同的处理
if (pRenderer.renderMode == ParticleSystemRenderMode.Mesh){dyMaterial.EnableKeyword("SCALE_ON_MESH");}else {dyMaterial.EnableKeyword("SCALE_ON_Bill");}
对应的shader处理如下
pragma multi_compile _ SCALE_ON_Bill SCALE_ON_MESHfloat4 adJustObjPos = v.vertex;#ifdef SCALE_ON_BilladJustObjPos.xyz -= _Position.xyz;adJustObjPos.xyz =float3( _Scale.x * adJustObjPos.x,_Scale.y * adJustObjPos.y,_Scale.z * adJustObjPos.z);adJustObjPos.xyz += _Position.xyz;o.vertex = mul(UNITY_MATRIX_MVP, adJustObjPos);#elif SCALE_ON_MESHadJustObjPos.xyz =float3( _Scale.x * adJustObjPos.x,_Scale.y * adJustObjPos.y,_Scale.z * adJustObjPos.z);o.vertex = mul(UNITY_MATRIX_MVP, adJustObjPos);#endifo.vertex = mul(UNITY_MATRIX_MVP, adJustObjPos);
Clip Particle System In Arena
在上面我们通过对粒子mesh的顶点缩放来实现了粒子的缩放, 同样的如果要考虑对粒子的裁剪, 我们则需要提供裁剪空间相对于粒子mesh原点的坐标, 进行比较, 超出范围的则裁剪掉(set alpha = 0)
1.先获取Ngui的draw arena,转换为世界arena, 因为粒子是不受缩放影响的。
2.ngui clip widget 和 粒子mesh 原点的坐标差
3.上述两点就确定了 粒子 mesh的裁剪范围
4.根据 billbord 和 mesh 渲染方式的不同 2的计算有两种不同的实现
计算裁剪范围
Vector2 localCenter = Vector2.zero;Vector2 localSize = Vector2.zero;if (pRenderer.renderMode == ParticleSystemRenderMode.Mesh){//widget 坐标 和 mesh原点的差Vector3 cameraPos = parent.transform.position - transform.position;float scale = parent.transform.lossyScale.x;//widge 的 localCenter 换算成世界坐标,因为粒子不受缩放的印象localCenter = cameraPos + parent.localCenter * scale;//裁剪 的 sizelocalSize = parent.localSize * 0.5f * scale;}else{//widget 坐标 和 mesh原点的差(这里mesh原点也就是camera pos)Vector3 cameraPos = target.worldToCameraMatrix.MultiplyPoint(parent.transform.position);float scale = parent.transform.lossyScale.x;///同上localCenter = parent.localCenter * scale + cameraPos;///同上localSize = parent.localSize * 0.5f * scale;}
裁剪范围应用
这一段有点晦涩,参考了ngui的代码, 需要结合shader一起看
Vector4 clipRange =new Vector4(-localCenter.x / localSize.x, -localCenter.y / localSize.y,1f / localSize.x, 1f / localSize.y);dyMaterial.SetVector(Shader.PropertyToID("_ClipRange0"), clipRange);
shader
#pragma multi_compile _ CLIP_ONv2f vert (appdata_t v){#ifdef CLIP_ONo.worldPos = v.vertex.xy * _ClipRange0.zw + _ClipRange0.xy;#endif}fixed4 frag (v2f i) : COLOR{// 2.0f *fixed4 col = i.color * tex2D(_MainTex, i.texcoord);// clip factor#ifdef CLIP_ONfloat2 factor = (float2(1.0, 1.0) - abs(i.worldPos)) * _ClipArgs0;col.a *= clamp( min(factor.x, factor.y), 0.0, 1.0);#endifreturn col;}
原理其实就是传入裁剪范围(_ClipRange0.z, _ClipRange0.w), 在顶点处理的时候进行比较(v.vertex.xy * _ClipRange0.zw),超出范围的自然abs > 1, 通过后面的计算可以 clamp 为 0。
至于_ClipRange0.x, _ClipRange0.y,则是裁剪范围和mesh原点的差对应比值的影响(+ _ClipRange0.xy), 因为作用是相反的, 所以传入要*-1。
Notice
这里要注意一点, 我这里运用了shader mulitiply的特性, 在u4是不支持 #pragma multi_compile __ CLIP_ON
这个两个__的,至于原因我也不是很清楚, 但是u5好像是支持的。
网上搜了一下, 有个日本人也有同样的问题
https://spphire9.wordpress.com/2015/07/13/unity%E3%81%AE%E3%82%B7%E3%82%A7%E3%83%BC%E3%83%80%E3%81%A7multi_compile%E3%81%AB__%E3%82%92%E4%BD%BF%E3%82%8F%E3%81%AA%E3%81%84/
Reference
https://git.oschina.net/daao/NGUI/Assets/Lessson4
http://blog.csdn.net/poem_qianmo/article/details/49719247
http://blog.csdn.net/candycat1992/article/details/51417965
https://forum.unity3d.com/threads/pragma-multi_compile.187817
