@Wayne-Z
2018-01-17T11:16:43.000000Z
字数 4268
阅读 3271
Caffe Ubuntu16.04环境配置
Caffe
环境
官网最新版Ubuntu16.04.3
CPU-Only
依照教程,执行如下过程
sudo apt-get install libprotobuf-dev libleveldb-dev libsnappy-dev libopencv-dev libhdf5-serial-dev protobuf-compilersudo apt-get install --no-install-recommends libboost-all-dev
安装Anaconda的Python3.6 version。
强烈推荐vscode进行文本编辑。
补充依赖包
网盘中有glog包,下载后
tar zxvf glog-0.3.3.tar.gzcd glog-0.3.3./configuresudo makesudo make install
同时,依据Ubuntu16.04安装caffe中遇到的问题总结,命令行输入如下命令继续安装相关依赖包
#1. ./include/caffe/common.hpp:5:27: fatal error: gflags/gflags.h: No such file or directory解决办法:sudo apt-get install libgflags-dev#2. ./include/caffe/util/mkl_alternate.hpp:14:19: fatal error: cblas.h: No such file or directory解决办法:sudo apt-get install libblas-dev#3. ./include/caffe/util/db_lmdb.hpp:8:18: fatal error: lmdb.h: No such file or directory解决办法:sudo apt install liblmdb-dev#4. /usr/bin/ld: cannot find -lcblas/usr/bin/ld: cannot find -latlas解决办法:sudo apt install libatlas-base-dev
其中关于HDF5的问题,不是按照博客原来的方式解决的,博客原来采用这种方式
#3. ./include/caffe/util/hdf5.hpp:6:18: fatal error: hdf5.h: No such file or directory解决办法:在Makefile.config找到以下行并添加蓝色部分INCLUDE_DIRS := $(PYTHON_INCLUDE) /usr/local/include /usr/include/hdf5/serialLIBRARY_DIRS := $(PYTHON_LIB) /usr/local/lib /usr/lib /usr/lib/x86_64-linux-gnu/hdf5/serial
但是这个在进入后面make runtest的时候会出现HDF5的相关问题,无法通过增加软链接来解决。这里参照了另一个办法并进行了细微的修改,去官网下载。
下载解压后,输入命令
./configure --prefix=/usr/local/lib/hdf5-1.8.3/make ##4分钟左右sudo make install
这样就直接把hdf5放入了lib的常用位置。但是这个还是跑不通测试,最终在这里找到了办法,anaconda3里面自带了这个库,所以只用添加进去就好。
编译
进入caffe文件夹,输入
cp Makefile.config.example Makefile.configcode Makefile.config
对文件进行了一些修改,针对CPU模式,主要是Anaconda Python的一些参数调整
# CPU-only switch (uncomment to build without GPU support).CPU_ONLY := 1# Uncomment if you're using OpenCV 3# OPENCV_VERSION := 3# To customize your choice of compiler, uncomment and set the following.# N.B. the default for Linux is g++ and the default for OSX is clang++CUSTOM_CXX := g++# NOTE: this is required only if you will compile the python interface.# We need to be able to find Python.h and numpy/arrayobject.h.# PYTHON_INCLUDE := /usr/include/python2.7 \#/usr/lib/python2.7/dist-packages/numpy/core/include# Anaconda Python distribution is quite popular. Include path:# Verify anaconda location, sometimes it's in root.ANACONDA_HOME := $(HOME)/anaconda3PYTHON_INCLUDE := $(ANACONDA_HOME)/include \$(ANACONDA_HOME)/include/python3.6m \$(ANACONDA_HOME)/lib/python3.6/site-packages/numpy/core/include# We need to be able to find libpythonX.X.so or .dylib.# PYTHON_LIB := /usr/libPYTHON_LIB := $(ANACONDA_HOME)/lib# Uncomment to support layers written in Python (will link against Python libs)WITH_PYTHON_LAYER := 1# Uncomment for debugging. Does not work on OSX due to https://github.com/BVLC/caffe/issues/171DEBUG := 1
之后就是
make allmake testmake runtest
可以全部通过,没有问题。
安装Opencv
最核心的部分安装成功后,安装opencv支持。
sudo apt-get install cmake git libgtk2.0-dev pkg-config libavcodec-dev libavformat-dev libswscale-dev
百度网盘下载准备好opencv和opencv_contrib两个文件夹,而后
cd opencvmkdir buildcd buildcmake –D CMAKE_BUILD_TYPE=Release –D OPENCV_EXTRA_MODULES_PATH=/home/banshee/opencv_contrib/modules/ -D CMAKE_INSTALL_PREFIX=/usr/local –D WITH_IPP=OFF ..
在这个过程中,会遇到ippicv_linux_20151201.tgz国内被墙了,有时候下载不成功或者提出hash值不对
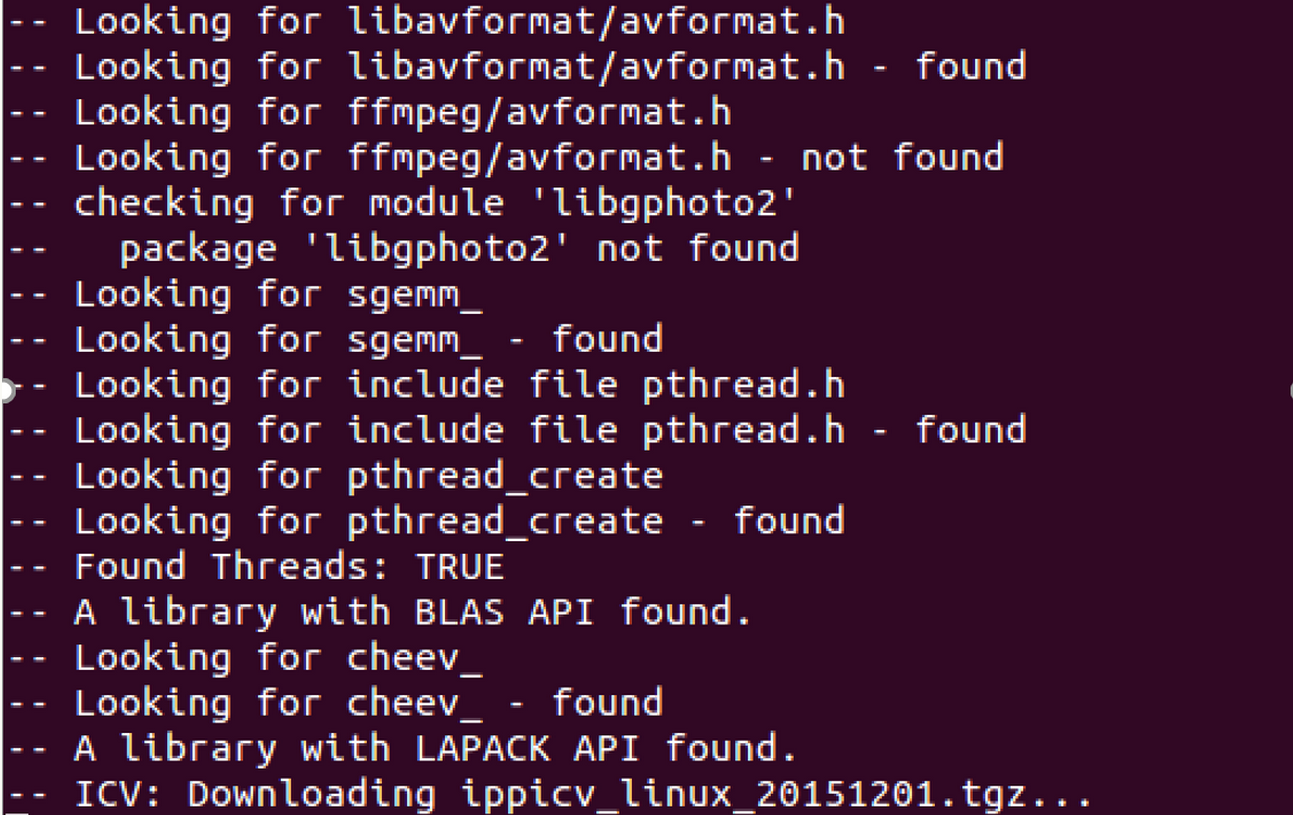
此时果断中止,然后下载对应文件到对应目录即可(/3rdparty/ippicv/downloads/linux-808b791a6eac9ed78d32a7666804320e/ippicv_linux_20151201.tgz)
而后
(<opencv目录>/3rdparty/ippicv/downloads/linux-808b791a6eac9ed78d32a7666804320e/ippicv_linux_20151201.tgz)
而后
sudo make -j4sudo make install
然后运行测试代码
#include <iostream>#include <opencv2/highgui/highgui.hpp>int main(int argc,char* argv[]){const std::string window_name = "lena";const std::string input_pic = "lena.jpg";cv::Mat test_pic = cv::imread(input_pic);if(test_pic.empty()){std::cout<<"no input image"<<std::endl;return 1;}cv::namedWindow(window_name);cv::imshow(window_name,test_pic);cv::waitKey(0);return 0;}
对应的测试图片lena.jpg在网盘中也有。
g++ -o test_opencv test_opencv.cpp -lopencv_core -lopencv_highgui -lopencv_imgcodecs
完成后,重新编译caffe
make allmake testmake runtestmake pycaffe
Pycaffe
在上文编译好pycaffe后,我们会发现pycaffe并不能使用,会出现如下报错
ImportError: /home/zero/Documents/caffe-master/python/caffe/_caffe.so:undefined symbol:_ZN5boost6python6detail11init_moduleER11PyModuleDefPFvvE
这个bug是由boost版本不匹配导致的,涉及到Makefile中的这样一行
PYTHON_LIBRARIES ?= boost_python python2.7
为了方便,笔者将它修改成了
PYTHON_LIBRARIES := boost_python3 python3.5m
并且增加了如下操作:
cd /usr/lib/x86_64-linux-gnu/sudo ln -s libboost_python-py35.so libboost_python3.sosudo ln -s libpython3.5m.so.1.0 libpython3.5m.so
后面才发现,原来在Makefile.config里面就有一模一样的这句话,可见其实只要取消其中的注释,使用上面三行命令并重新编译即可。
