@coldxiangyu
2017-06-06T07:16:09.000000Z
字数 2641
阅读 3557
IntelliJ IDEA 快速创建Spring boot
技术储备
在我的另一篇文章里,已经介绍过Spring boot,以及它的基本配置了。
那篇文章是在Myeclipse环境通过maven项目搭建起来的,虽然也很容易,但是还有更容易的。今天我要介绍的就是通过IDEA的Spring Initializr创建Spring boot工程。
接下来来看看到底有多容易。
在不用IntelliJ IDEA的情况下,我们通常需要访问http://start.spring.io/,生成maven包,然后解压导入到我们的IDE。
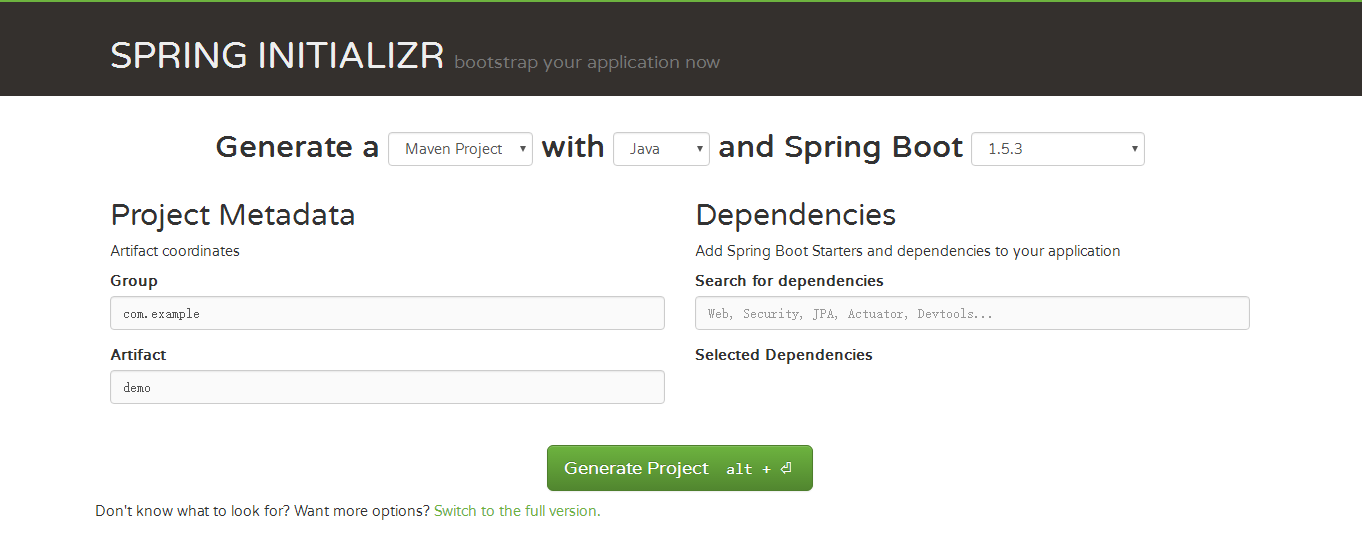
而IntelliJ IDEA与Spring结合的非常好,Spring Initializr已经内置,我们直接在IDEA进行创建即可。
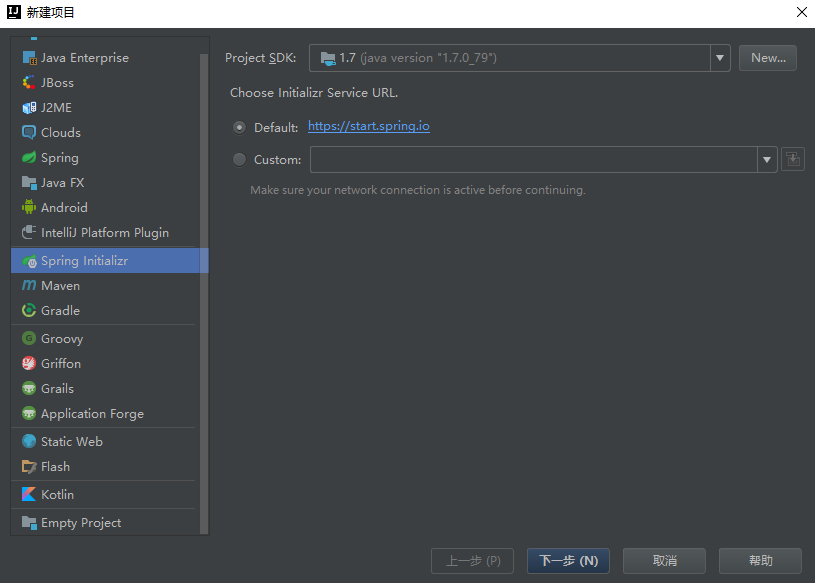
接下来,就是http://start.spring.io/的选择界面了:
再接下来,我们可以选择spring boot的版本,各种开发相关的依赖也集中在此处供我们选择,非常的人性化:
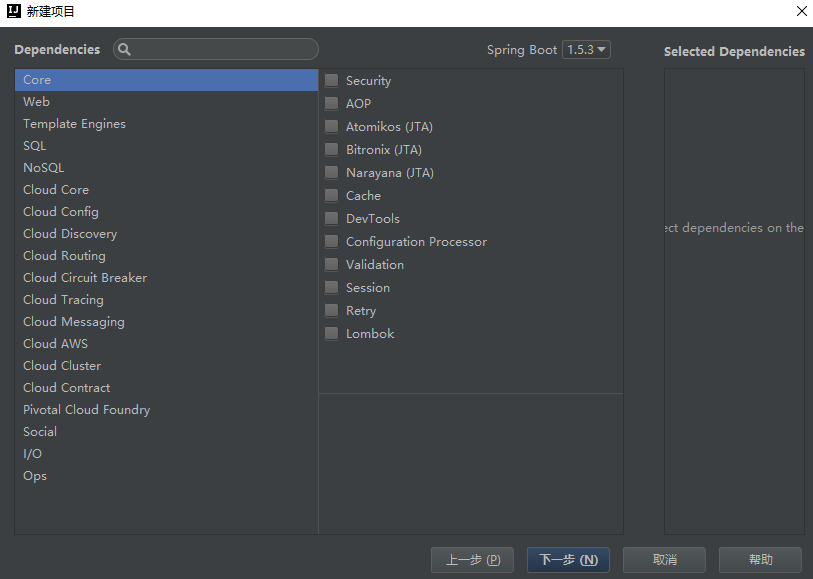
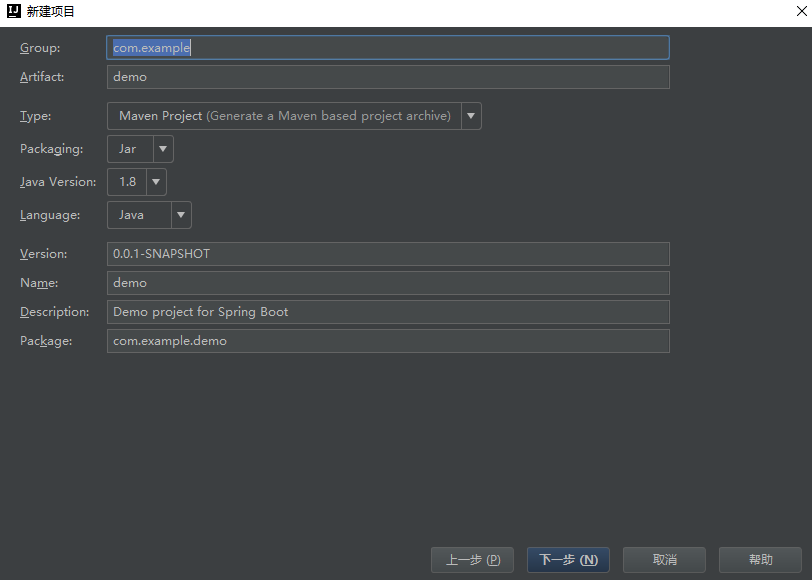
我们只需简单创建,无需选择,点击下一步,完成即可。
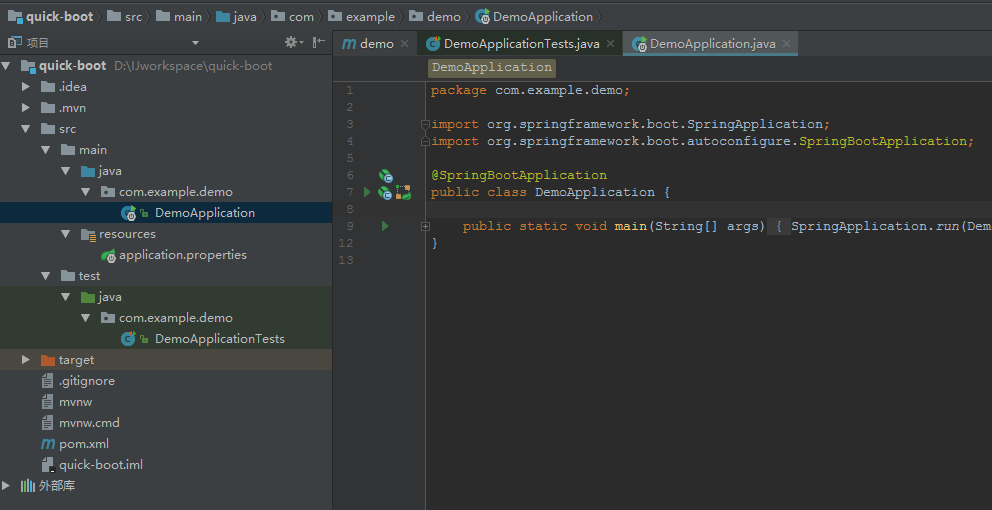
我们可以看到,一个完整的spring boot项目已经展现在我们面前,包括:
src/main/java下的程序入口:DemoApplication
src/main/resources下的配置文件:application.properties
src/test/下的测试入口:DemoApplicationTests
其中自动生成的POM配置如下:
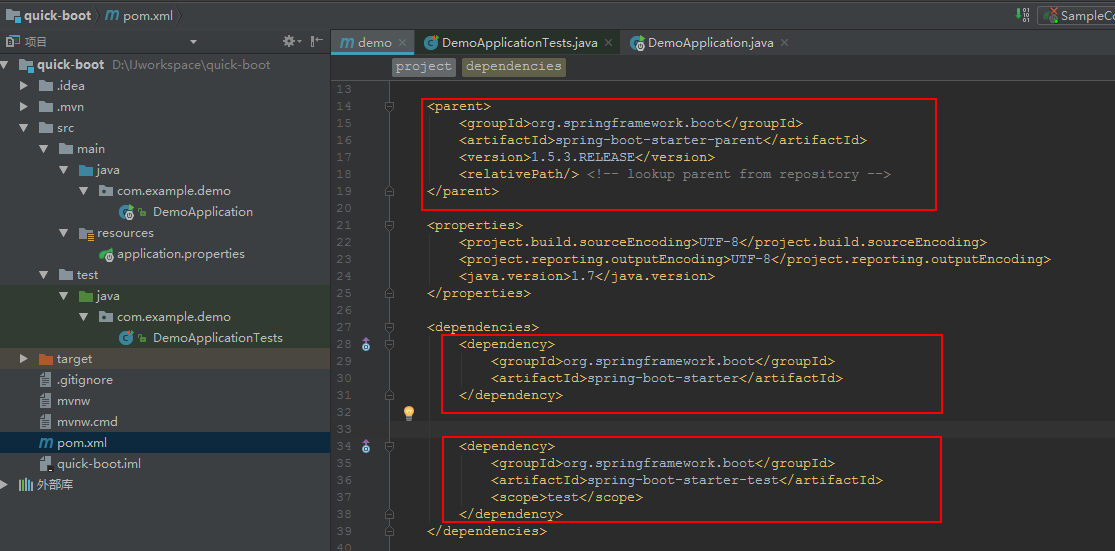
自动生成的POM已经非常全面了,不过少了一个spring-boot-starter-web,我们添加web依赖即可。
<dependency><groupId>org.springframework.boot</groupId><artifactId>spring-boot-starter-web</artifactId></dependency>
我们改造入口类,实现一个hello world!
package com.example.demo;import org.springframework.boot.SpringApplication;import org.springframework.boot.autoconfigure.SpringBootApplication;import org.springframework.stereotype.Controller;import org.springframework.web.bind.annotation.RequestMapping;import org.springframework.web.bind.annotation.ResponseBody;@Controller@SpringBootApplicationpublic class DemoApplication {@RequestMapping("/")@ResponseBodypublic String home(){return "Hello world!";}public static void main(String[] args) {SpringApplication.run(DemoApplication.class, args);}}
启动该入口类,并访问http://localhost:8080/
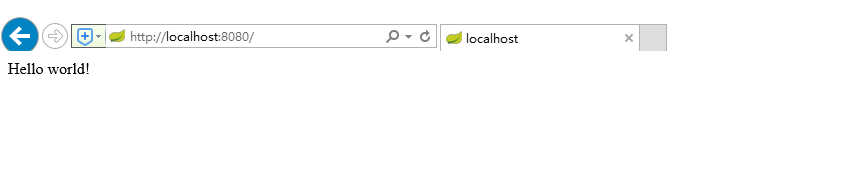
成功!
此外,我们也可以通过生成的单元测试类进行模拟http请求:
package com.example.demo;import org.junit.Before;import org.junit.Test;import org.junit.runner.RunWith;import org.springframework.boot.test.context.SpringBootTest;import org.springframework.http.MediaType;import org.springframework.mock.web.MockServletContext;import org.springframework.test.context.junit4.SpringJUnit4ClassRunner;import org.springframework.test.context.web.WebAppConfiguration;import org.springframework.test.web.servlet.MockMvc;import org.springframework.test.web.servlet.request.MockMvcRequestBuilders;import org.springframework.test.web.servlet.setup.MockMvcBuilders;import static org.hamcrest.Matchers.equalTo;import static org.springframework.test.web.servlet.result.MockMvcResultMatchers.content;import static org.springframework.test.web.servlet.result.MockMvcResultMatchers.status;@RunWith(SpringJUnit4ClassRunner.class)@SpringBootTest(classes = MockServletContext.class)@WebAppConfigurationpublic class DemoApplicationTests {private MockMvc mvc;@Beforepublic void setUp() throws Exception {mvc = MockMvcBuilders.standaloneSetup(new DemoApplication()).build();}@Testpublic void getHello() throws Exception {mvc.perform(MockMvcRequestBuilders.get("/").accept(MediaType.APPLICATION_JSON)).andExpect(status().isOk()).andExpect(content().string(equalTo("Hello World")));}}

