@xtccc
2016-09-24T01:43:49.000000Z
字数 1946
阅读 3066
发布artifact到repo

Gradle
1. 发布到自己的repo中
如果要将某个artifact发布到自己管理的某个仓库中,在该artifact所在项目的build.gradle:
uploadArchives {repositories {mavenDeployer {repository(url: "http://aa.bb.cc.dd:8081/path/to/repo") {authentication(userName: "xx", password: "yy")}pom.version = "3.2.0"pom.artifactId = "s3-plugin"pom.groupId = "com.gridx"}}}
2. 发布到jcenter
放在自己的仓库里,其他开发者是看不到的,所以我们可以把自己的artifact托管在jcenter中。
2.1 准备工作
首先要到JFrog Bintray去注册一个账号,然后创建一个名为maven的repository。
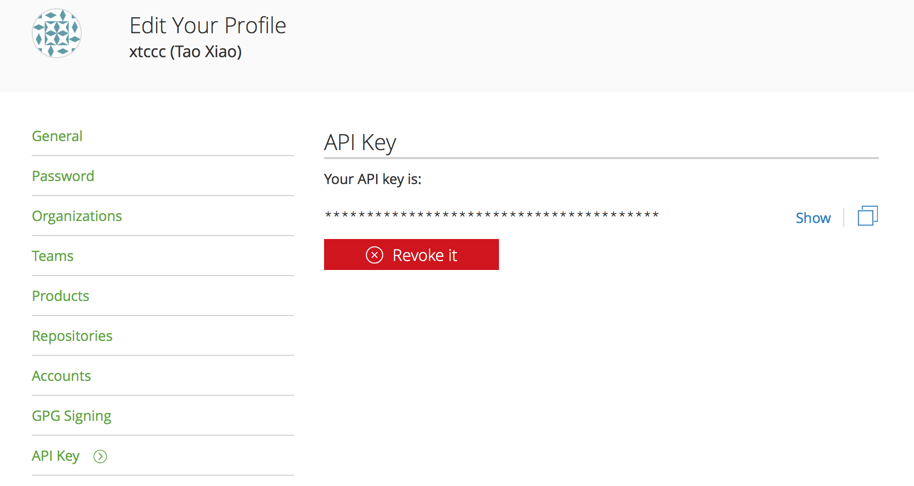
接着,到自己账户的管理页面中,获取自己的API Key:
2.2 编写自己的artifact
在自己项目的根目录下,建立一个名为local.properties的文件,内容为:
bintray.user=xtcccbintray.apikey=<API Key>
这个文件要自己做好保密。
在要发布的项目的build.gradle中,添加一些必须的内容。
下面是一个完整的例子,相信你一看就明白:
buildscript {repositories {jcenter()}dependencies {classpath 'com.jfrog.bintray.gradle:gradle-bintray-plugin:1.2'// NOTE: Do not place your application dependencies here; they belong// in the individual module build.gradle files}}group 'cn.gridx'version '1.0-RELEASE'apply plugin: 'java'apply plugin: 'scala'apply plugin: 'maven'apply plugin: 'com.jfrog.bintray'repositories {mavenCentral()}dependencies {compile gradleApi()compile 'com.amazonaws:aws-java-sdk:1.9.6','org.scala-lang:scala-library:2.10.4'}// 发布时必须有doc/sources才能通过审核task jarSources(type:Jar){from sourceSets.main.allSourceclassifier = 'source'}task scaladocJar(type: Jar, dependsOn: scaladoc) {classifier = 'scaladoc'from scaladoc.destinationDir}install {repositories.mavenInstaller {pom {project {packaging 'jar'}}}}artifacts {archives scaladocJararchives jarSources}def gitUrl = 'https://github.com/TaoXiao/s3syncer.git'Properties properties = new Properties()properties.load(project.rootProject.file('local.properties').newDataInputStream())bintray {user = properties.getProperty("bintray.user")key = properties.getProperty("bintray.apikey")configurations = ['archives']pkg {repo = "maven"name = "s3-syncer-plugin-for-gradle"vcsUrl = gitUrllicenses = ["Apache-2.0"]publish = true}}
执行命令即可:
gradle install bintrayUpload
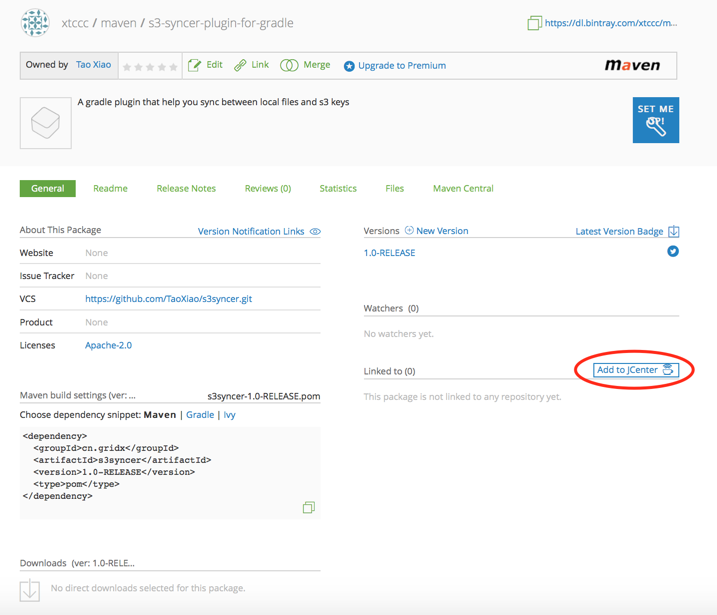
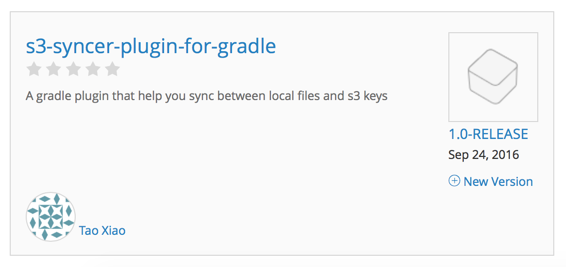
成功之后,你应该能在页面上看到一个名为s3-syncer-plugin-for-gradle的package:
2.3 发布到MavenCentral
进入s3-syncer-plugin-for-gradle package,点击Add to JCenter: