@zhongdao
2019-08-03T06:27:05.000000Z
字数 8102
阅读 5168
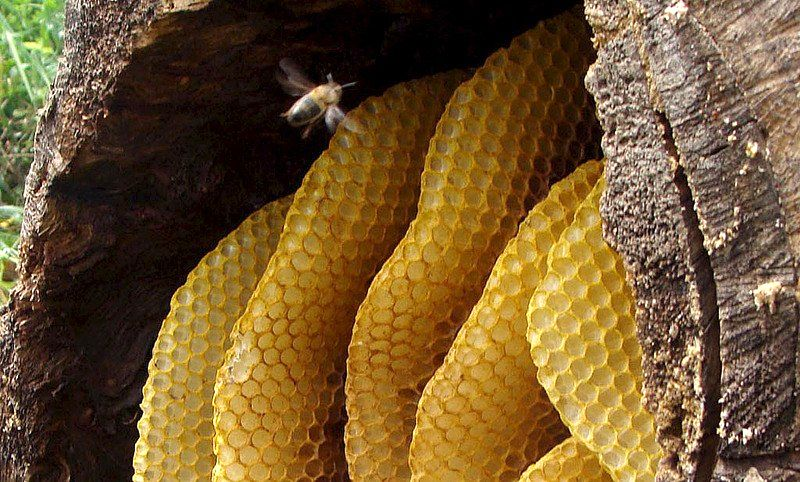
如何为蜜蜂做圆木蜂巢
蜜蜂 蜂巢
Yevgeny Chertkov. How to make a log for bees. My experience
Yevgeny Chertkov。我的经历:如何为蜜蜂做圆木蜂巢
前言
本文是英文原文与中文机器翻译的对照版。
如何为蜜蜂制作蜂巢。我的经历(俄文)
https://evgeniychertkov.ru/kak-sdelat-kolodu-dlya-pchyol-moj-opy-t
Yevgeny Chertkov. How to make a log for bees. My experience
https://vmegre.com/en/events/39658/
有夏友表示:
蜂箱基本是按阿夏的要求做的,他的尺寸比较大,阿夏的要求的原木可以直径小一倍,开口阿夏是长条形,宽1.5厘米,他的孔要小很多,还有些细节他没表现出来,譬如长条形缝要朝南摆放.......
我在云南见过土蜂箱,和阿夏的很像,他们放在屋檐底下,只是垫高了一点,也很成功
序语
I have always had the desire to start bees and try the taste of honey from my own bee yards.
When I moved to the Settlement, my dream came true: I acquired three beehives along with yellow-striped residents. I decided that such a number of hives would be enough for me to get the first experience to begin with.
After some time, I understood that the methods of traditional beekeeping imply constant intervention in the life of the bee family. As a result, the bees are almost constantly under stress, they get sick, become angry and aggressive.
Needless to say about the quality of honey in the traditional approach to beekeeping. In my opinion, current "honey" that is on the shelves has no connection with real Honey.
There is an information that the bee colony needs about 7 years to start making real honey. And all this time, the bees should be given the opportunity to spend the winter on the honey, which they collected at the most favorable time.
Thus, in the spring, bees have the opportunity to “see” in which honeycombs honey is candied, and in which they are not, and they may conclude from which plants they should not take nectar.
Next season, the bees will have flown around the flowers with “low-quality” nectar. And so, the bees gradually gain experience and produce more and more high-quality honey by year.
Honey from such a bee colony will be a real treasure. This is exactly the kind of honey used in ancient recipes for treating various diseases.
Nobody want to wait so much time. Most often, people take the maximum honey from the bees, pumping it several times a season.
When summer is coming to an end, the bees feel it and begin to feverishly gather nectar from all the plants in a row, just to gain the necessary reserve for wintering. The wintering on such poor-quality honey, make the bees weaken and constantly get sick.
Also unscrupulous "beekeepers", take away the maximum honey from the bees, and feed them with sugar syrup. And when honeycombs in the honey extractor are pumped, honey comes in contact with the metal, which also adversely affects its quality.
The reason of the solving all these drawbacks of traditional beekeeping, made me to try an unconventional approach. I made a deck and populate it with bee swarm.
One day, when I was driving near the school, I saw municipal workers cutting huge poplars. The diameter of the trunks at the base of these trees was more than a meter.
The tree trunk was sawed into 2 meters long pieces, into big churbaki. I realized that these blocks were an excellent material for making a bee log.
The workers graciously allowed me to take one of those pieces. Its length was 1m 80 cm and diameter about 80 cm.
我一直渴望开始蜜蜂,尝试从我自己的蜜蜂院子里品尝蜂蜜。
当我搬到定居点时,我的梦想成真了:我和黄色条纹的居民一起获得了三个蜂箱。我决定让这么多的荨麻疹足以让我获得第一次体验。
过了一段时间,我明白传统养蜂的方法意味着不断干预蜜蜂家庭的生活。结果,蜜蜂几乎总是处于压力之下,他们生病,变得愤怒和咄咄逼人。
毋庸置疑,在传统的养蜂方式中蜂蜜的质量。在我看来,货架上现有的“蜂蜜”与真正的蜂蜜无关。
有一个信息,蜂群需要大约7年才能开始制作真正的蜂蜜。而且这一次,蜜蜂应该有机会度过冬天的蜂蜜,这是他们在最有利的时间收集的。
因此,在春天,蜜蜂有机会“看到”哪种蜂蜜蜂蜜被蜜饯,而蜜蜂蜂蜜则没有,并且他们可以从哪种植物中得出不应该采取花蜜的结论。
下个季节,蜜蜂将以“低质量”的花蜜在花朵周围飞行。因此,蜜蜂逐渐获得经验,并逐年生产出越来越多的优质蜂蜜。
来自这样一个蜂群的蜂蜜将是一个真正的宝藏。这正是古代食谱中用于治疗各种疾病的蜂蜜。
没有人想等这么多时间。大多数情况下,人们从蜜蜂中摄取最多的蜂蜜,一季抽几次。
当夏天即将结束时,蜜蜂会感觉到并开始狂热地从所有植物中采集花蜜,以获得必要的越冬储备。这种劣质蜂蜜的越冬,使蜜蜂变弱,不断生病。
也是肆无忌惮的“养蜂人”,从蜜蜂中取出最多的蜂蜜,并用糖浆喂它们。当蜂蜜提取器中的蜂窝被泵送时,蜂蜜会与金属接触,这也会对其质量产生不利影响。
解决传统养蜂业所有这些缺点的原因让我尝试了一种非传统的方法。我制作了一个甲板,并用蜂群填充它。
有一天,当我在学校附近开车时,我看到市政工人砍掉了巨大的杨树。这些树木底部的树干直径超过一米。
树干被锯成2米长的碎片,成为大型的churbaki。我意识到这些块是制作蜜蜂原木的绝佳材料。
工人们慷慨地允许我拿走其中一件。它的长度为1米80厘米,直径约80厘米。

This heavy piece of raw wood with great difficulty were plunged into the back of my car with the helps of my friends, the four of us. At that time, I used Iz “Ode” - “heel” as a “workhorse”. And I brought this wood to my site, unloaded it, left it to dry for a year. And next year in the spring I began to manufacture the log.
在我的朋友们,我们四个人的帮助下,这块沉重的原木很难被撞到我的车后部。那时,我用Iz“Ode” - “heel”作为“主力”。我把这块木头带到了我的工地,卸下它,让它干了一年。明年春天我开始制造原木。
制造蜜蜂的圆木巢
MANUFACTURING A LOG FOR BEES
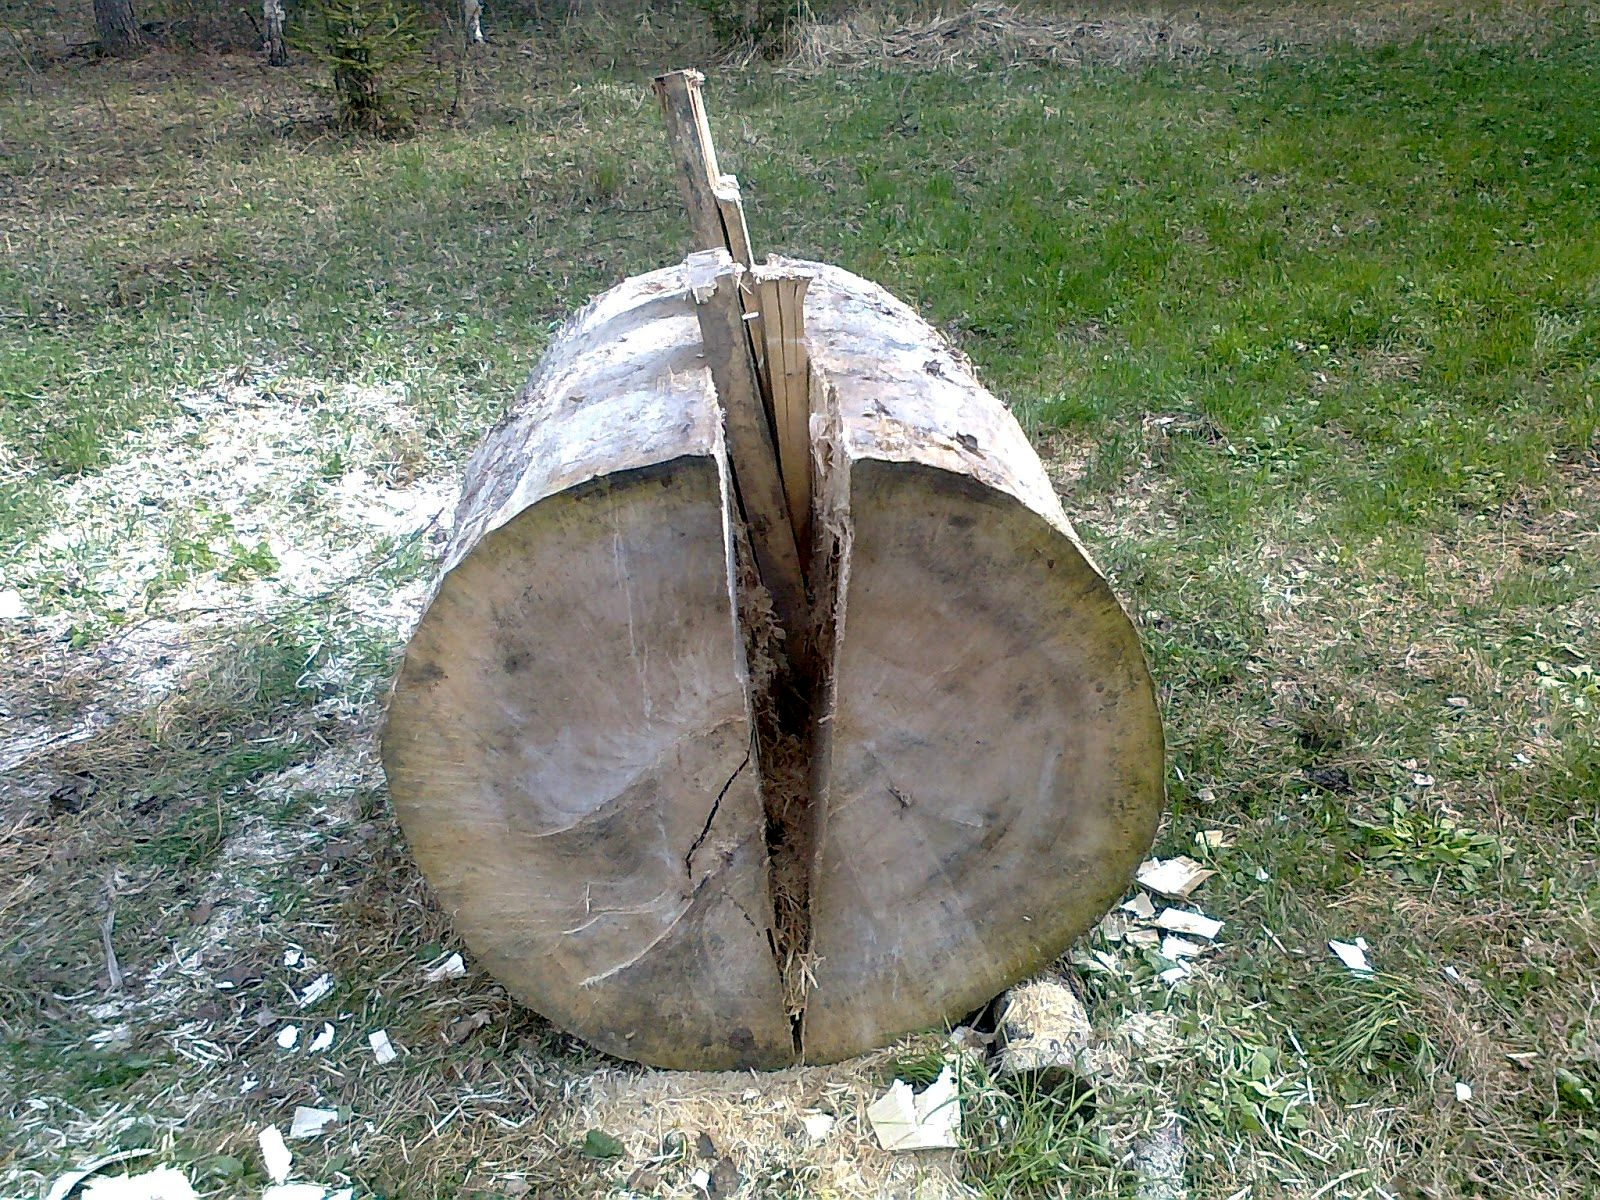
My main tools were a chainsaw, an ax and an adze. First of all I cleaned the bark from the block. Then the chainsaw sawed it along the entire length into two equal halves.
To cut through all 80 cm at a time the length of the chainsaw tire was too small, thus the saws were made from two opposite sides.
After it I began to break up this big stump into two parts. First, drive the wedges into the cuts, and then used the jack.
我的主要工具是电锯,斧头和锛。首先,我清理了街区的树皮。然后电锯将它沿着整个长度锯成两个相等的一半。
为了一次切割所有80厘米的链锯轮胎的长度太小,因此锯是由两个相对的侧面制成的。
之后我开始将这个大树桩分成两部分。首先,将楔子推入切口,然后使用千斤顶。

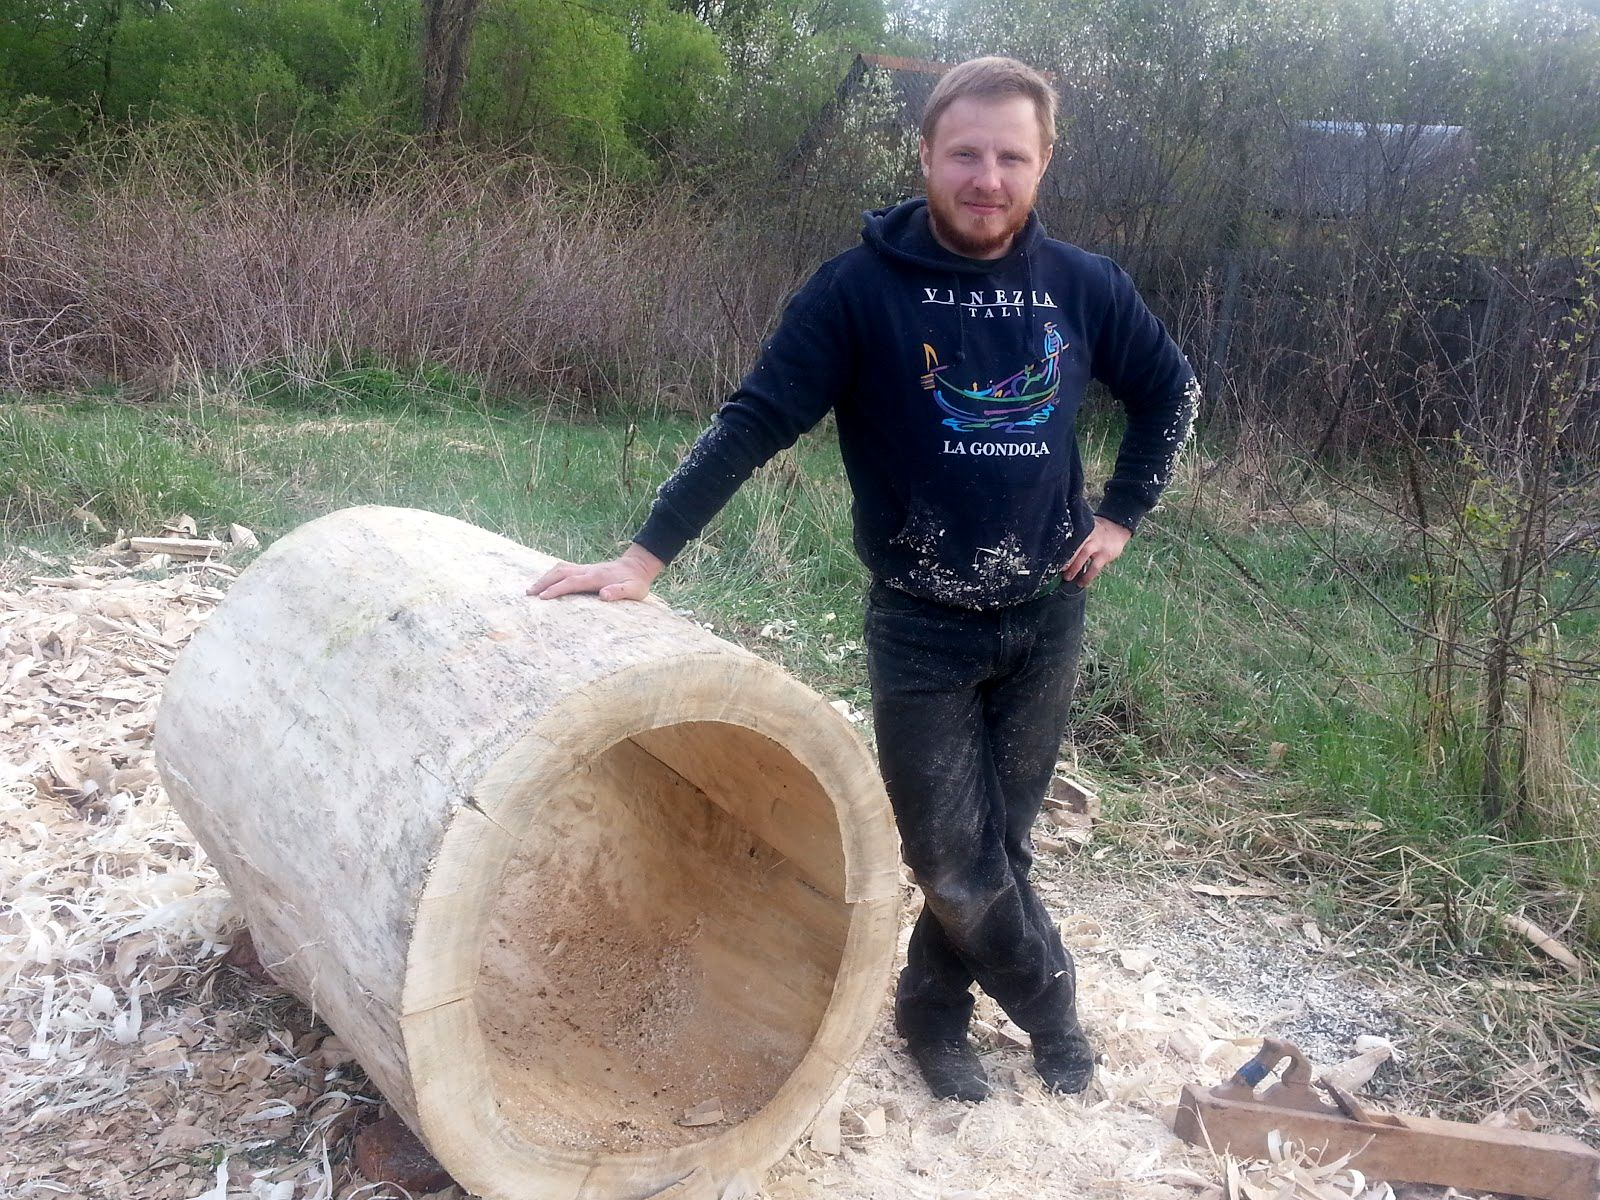
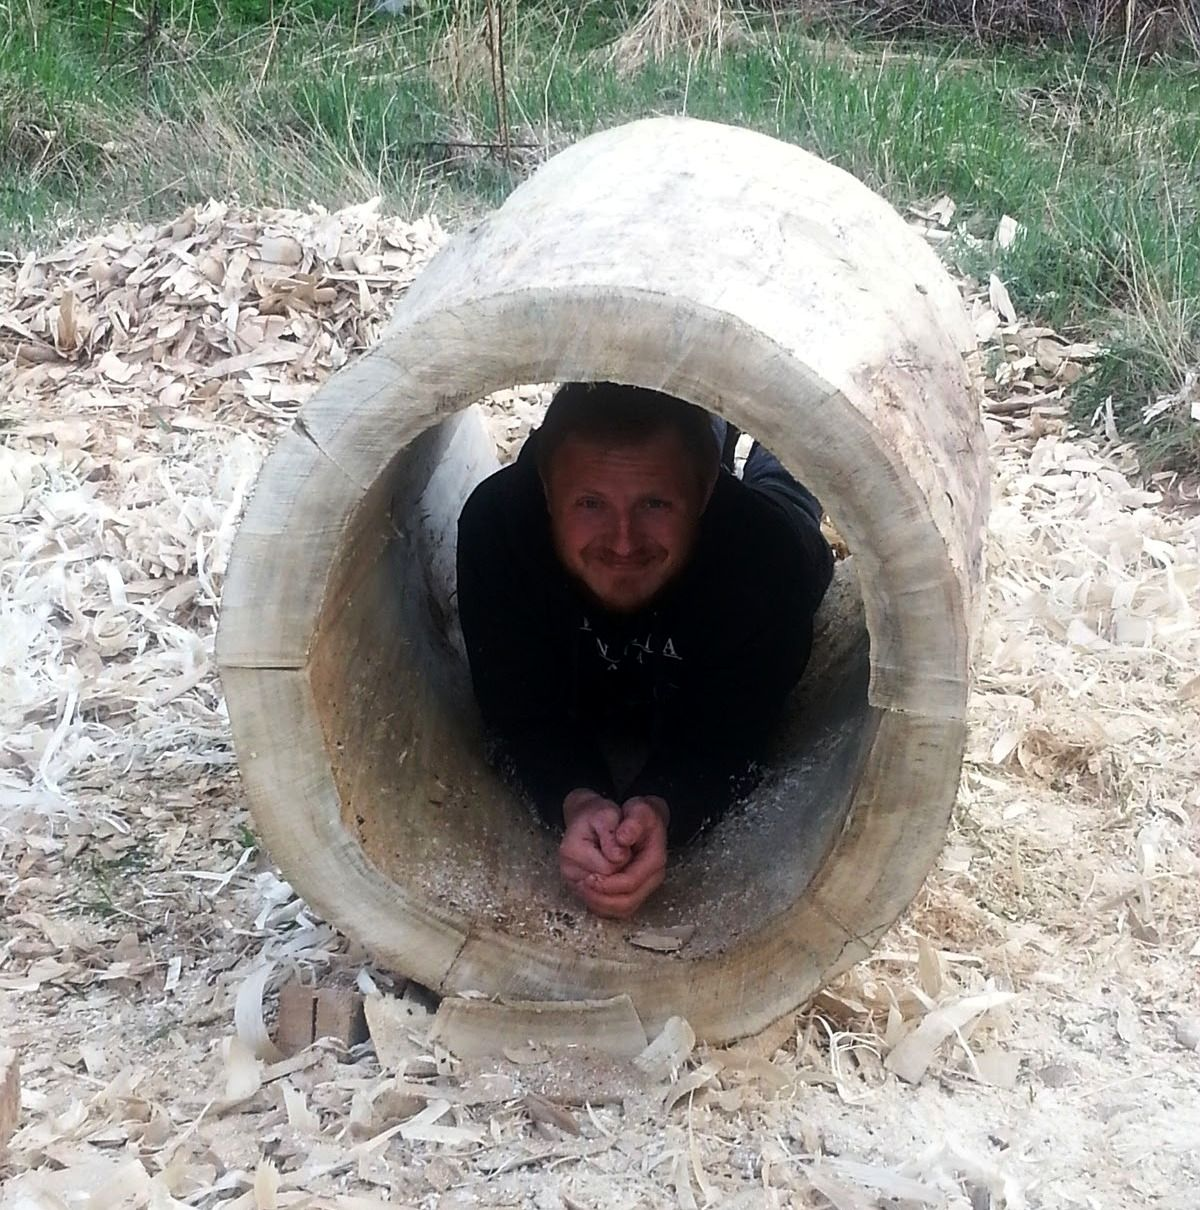
I decided to make 10 cm of the thickness of the log walls. I made the appropriate markings on the two halves of the block of wood, so that I would not accidentally remove excess wood in a burst of labor. I tried to cut out the core of the tree with chainsaw, not reaching the marking of 2-4 cm.
我决定制作10厘米厚的木墙。我在木块的两半上做了适当的标记,这样我就不会在一阵劳动中意外地去除多余的木材。我试图用电锯切割树的核心,而不是达到2-4厘米的标记。
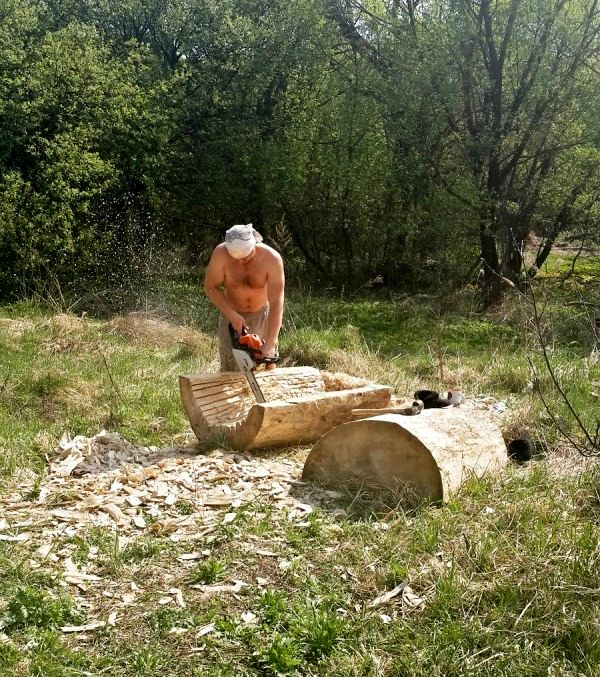
Then in the work I used adze in order to remove the excess and make the inner surface rounded and smooth.
然后在工作中我使用adze以去除多余的部分,使内表面圆润光滑。

Chainsaw I trimmed the ends of the walls with chainsaw, making them smooth. I leveled the planes with a plane where the halves of the future log interlock with each other.
电锯我用电锯修剪了墙壁的两端,使它们光滑。我用一架飞机对飞机进行了平整,未来的两半都是彼此互锁的。
The resulting halves were pulled together by tightening straps with a ratchet mechanism (the so-called load tie).
通过用棘轮机构(所谓的负载系带)收紧带将所得到的两半拉到一起。
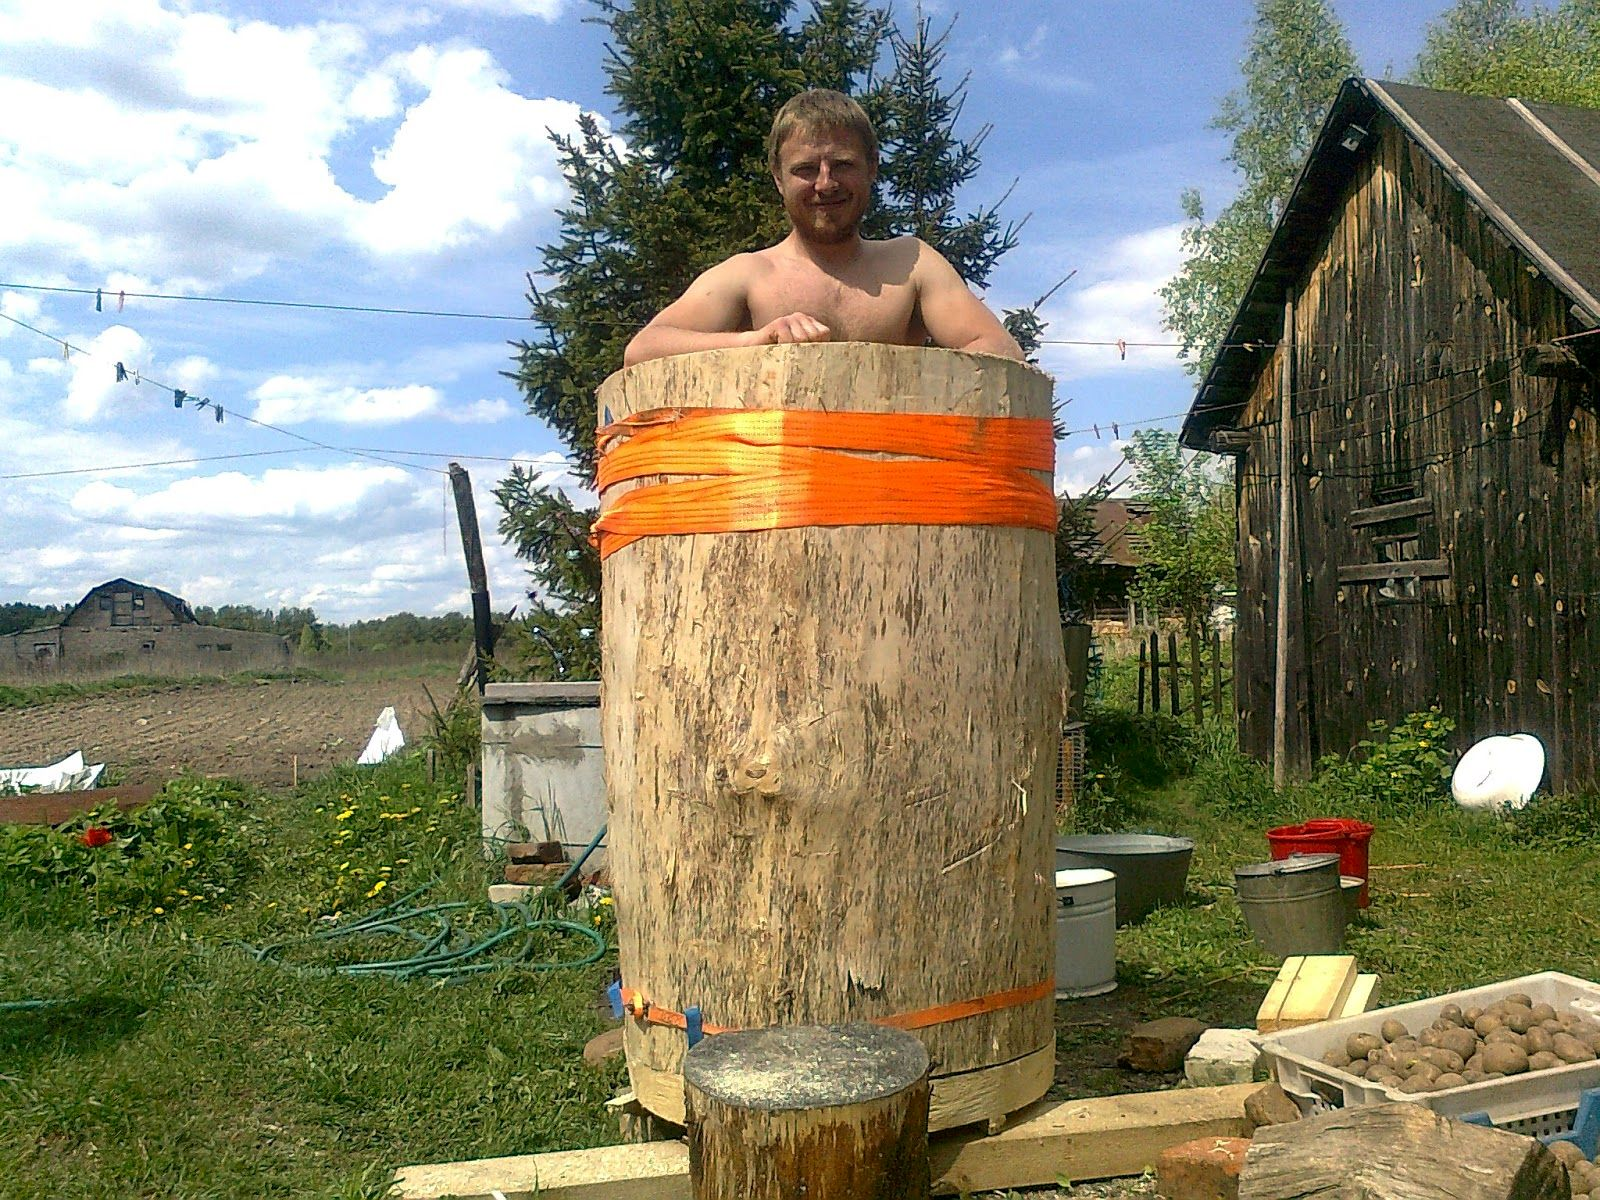
Next I had to make the covers, to close the log from the ends. I made them from a bar 100mm thick by 150mm. I sawed blanks 90 cm long. I put them together using the thorn-groove method. The resulting shield I put on the end of the future log, then I marked it and sawed off all unnecessary.
接下来我不得不盖上盖子,从两端关闭原木。我用100毫米厚,150毫米的条形制成它们。我锯了90厘米长的空白。我用刺槽法把它们放在一起。由此产生的盾牌放在未来日志的末尾,然后我标记它并锯掉所有不必要的东西。

Then I fastened the lid to the log with wood grouse screws with a diameter of 10 mm and a length of 200 mm.
然后我用木松鸡螺丝将盖子固定在原木上,直径为10毫米,长度为200毫米。
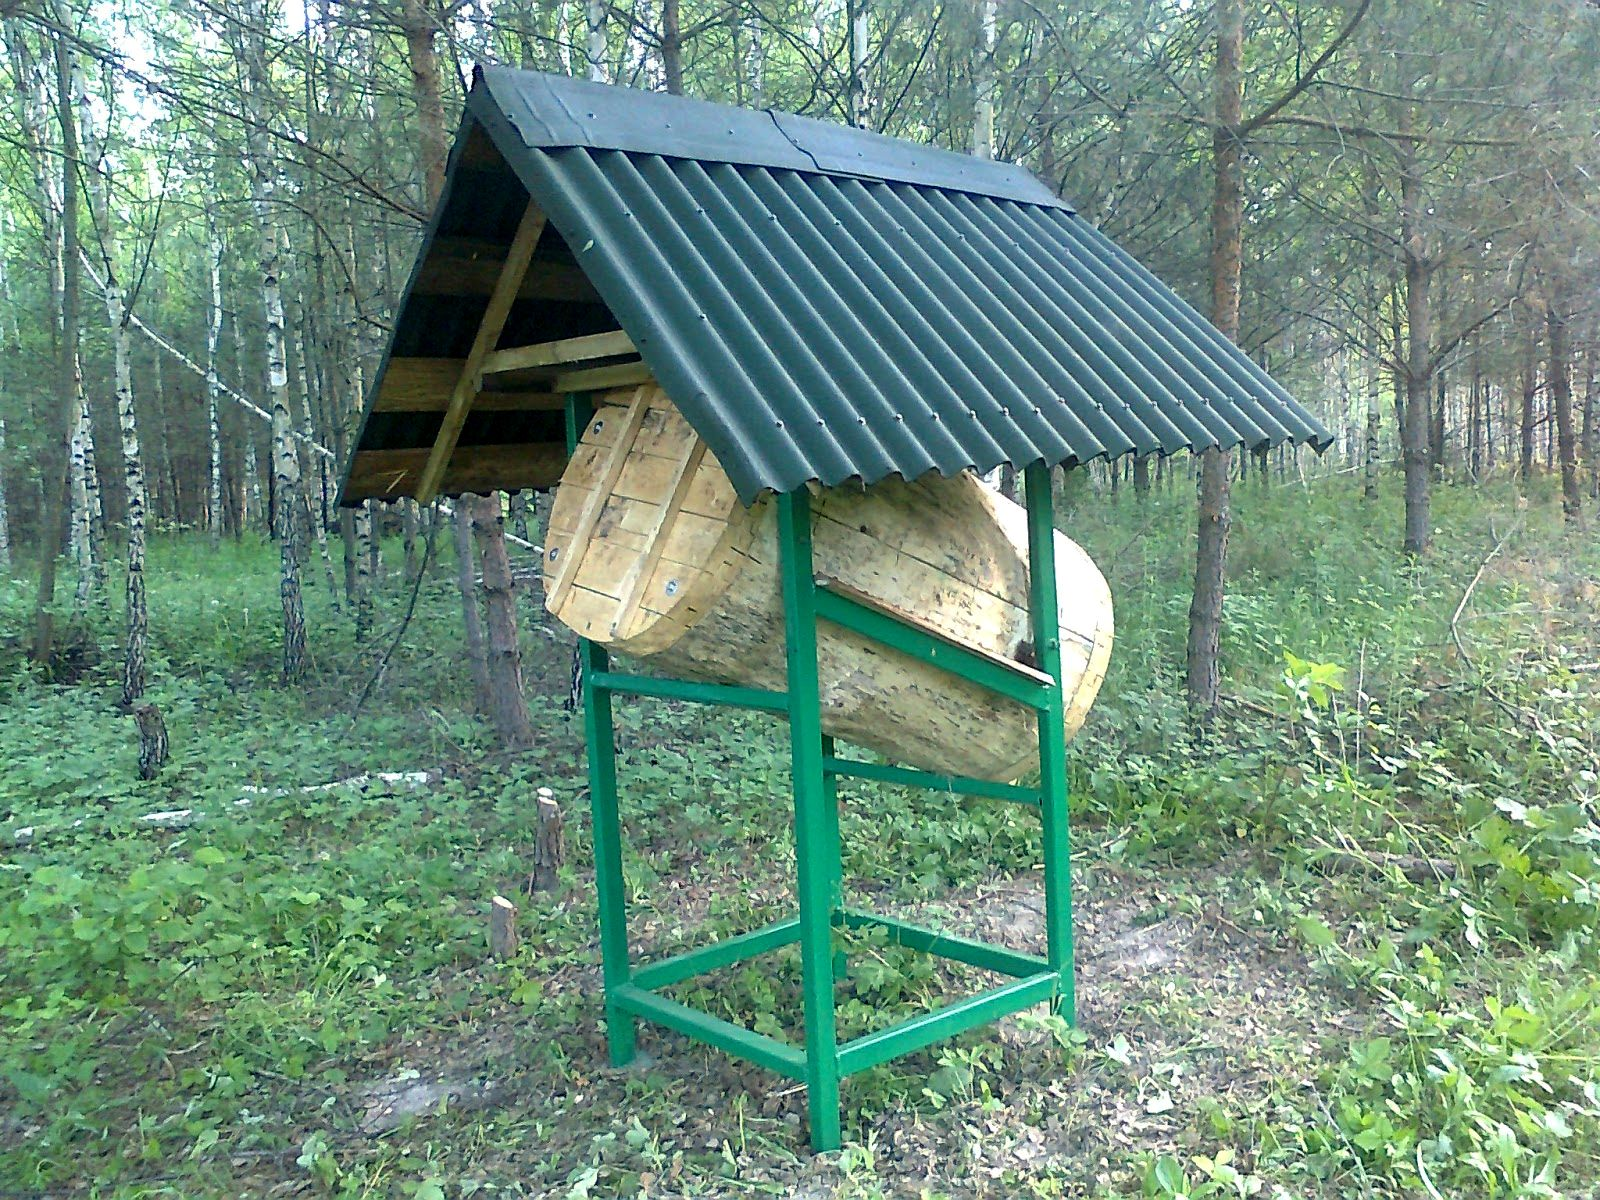
圆木巢的屋顶
RACK FOR THE LOG
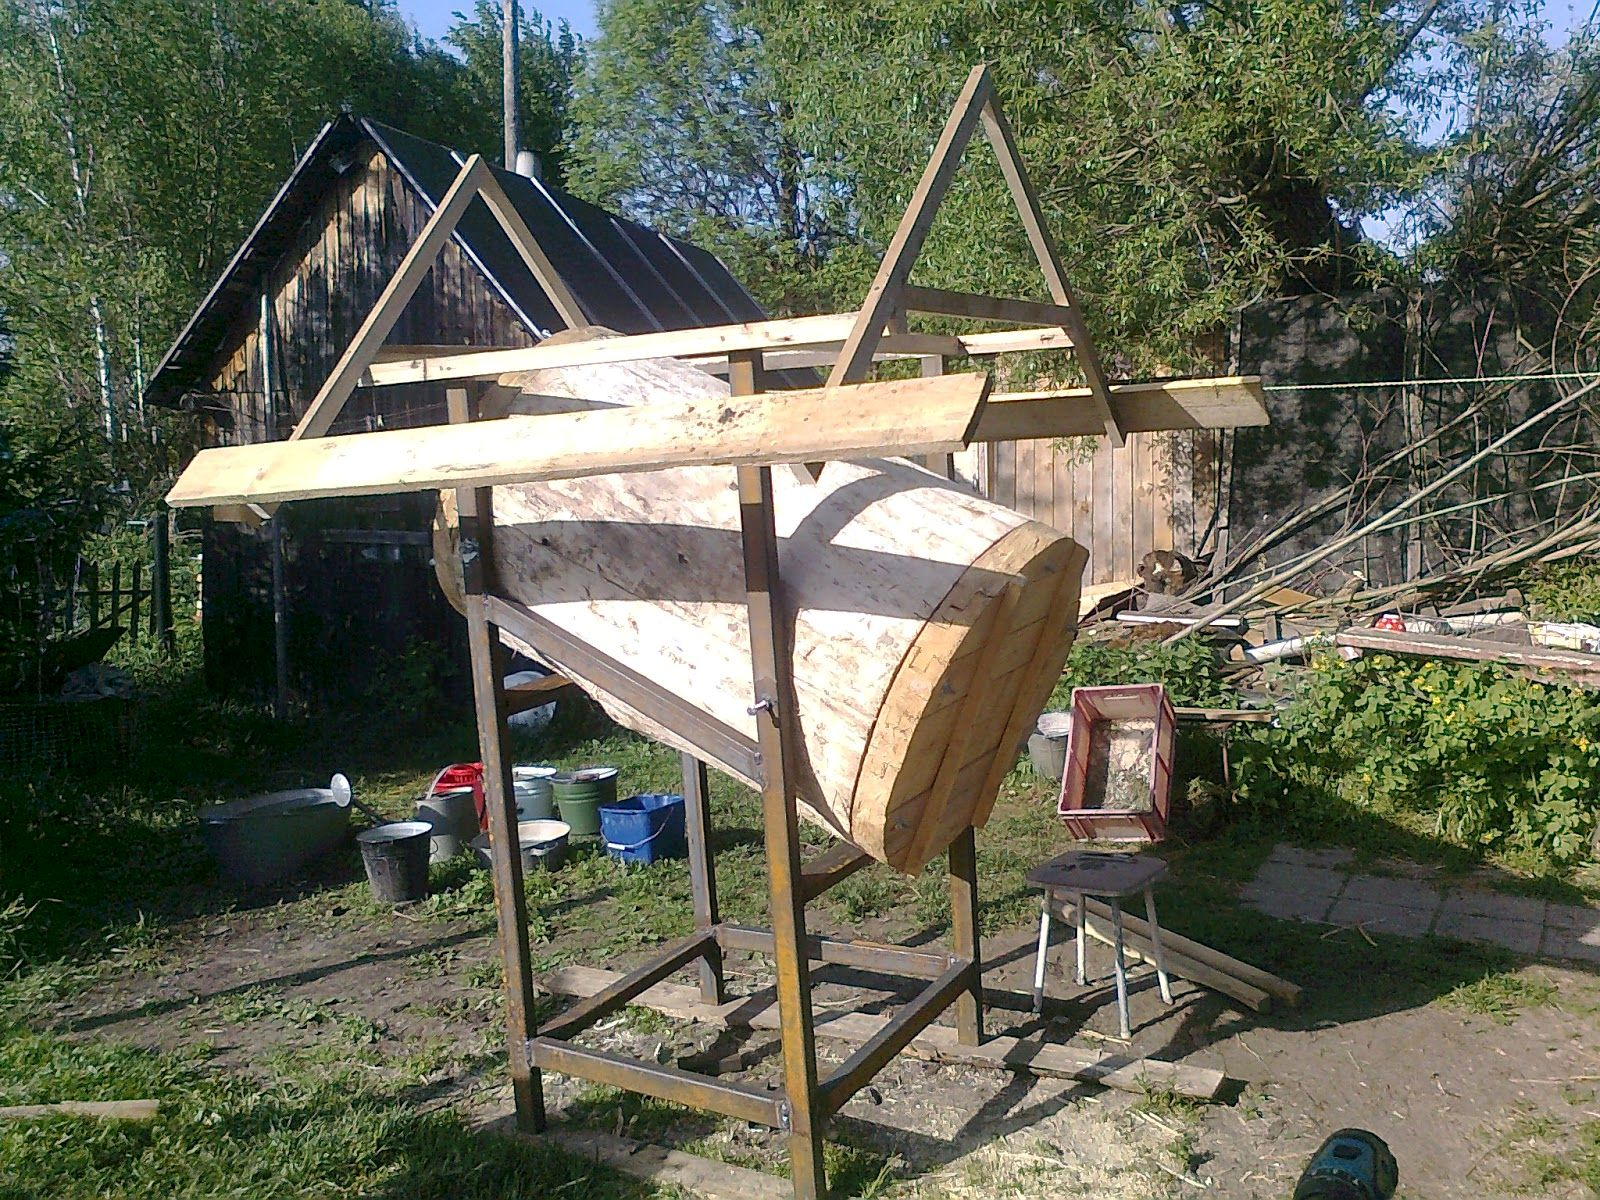
After I made a Log, I had to come up with a rack for it. The log weight turned out to be quite large, so I decided to make the rack from a metal profile 20mm by 40mm and 2mm thick.
I had an idea about how the rack should look like, “In my head”: 4 stands, jumpers that hold these racks together and two supports on which the deck will lie.
Despite the fact that I did not have the skills of a welder, I welded the rack myself, and it seemed to work out. The seams did not turn out “WOW” beauty, but the whole structure held tightly enough and did not fall apart under load.
Support for the log were made in such a way that the log lay at an angle of 30 degrees to the surface of the earth.
我做了一个日志后,我不得不为它准备一个机架。原木重量相当大,所以我决定用20mm×40mm和2mm厚的金属型材制作机架。
我知道机架应该是什么样子,“在我的脑海中”:4个支架,将这些支架固定在一起的支架和两个支架,甲板将放置在支架上。
尽管我没有焊工的技能,但我自己焊接了机架,似乎工作正常。接缝没有变成“WOW”的美感,但是整个结构保持足够紧密并且在负载下不会分开。
对原木的支持是这样的,即原木与地球表面成30度角。

Further I made a simple roof from the bars and scraps of the board and covered it with remnants of the roofing material “Ondulin”, which were laying unused down.
此外,我从木板的条和碎片上做了一个简单的屋顶,并用屋顶材料“Ondulin”的残余物覆盖了它,这些材料是未使用过的。
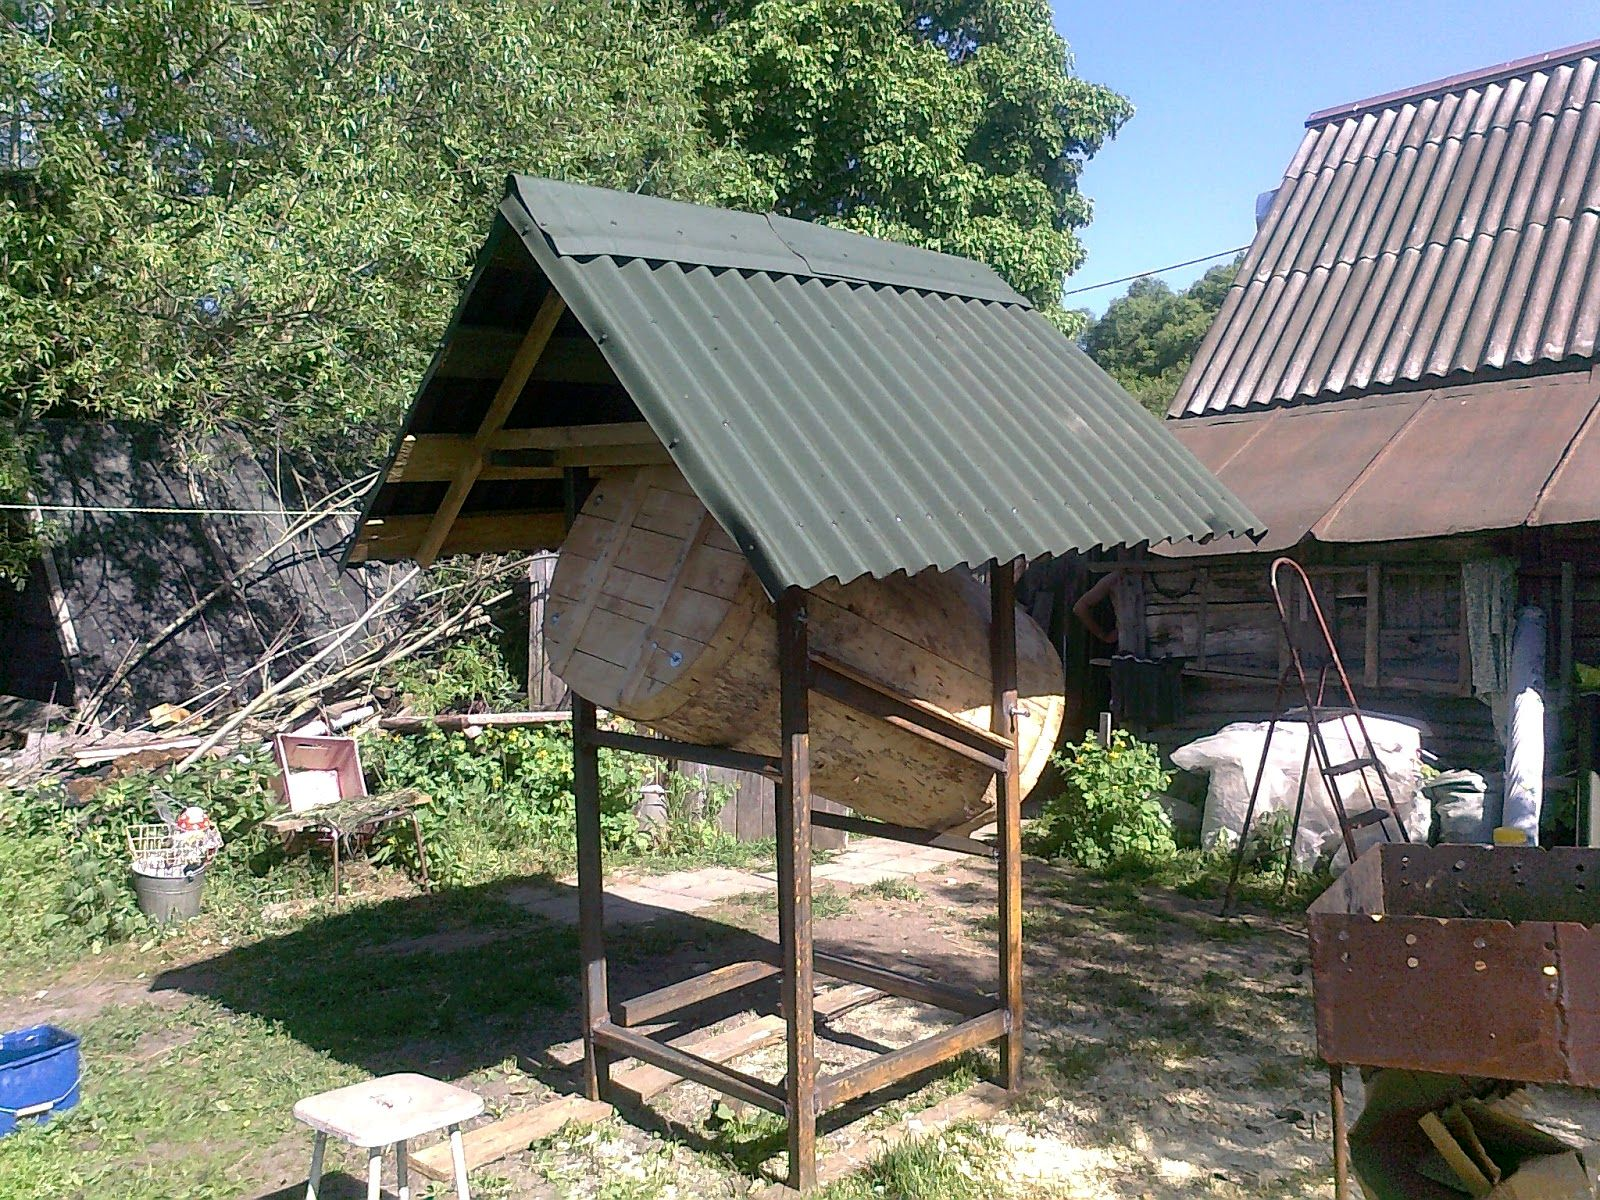
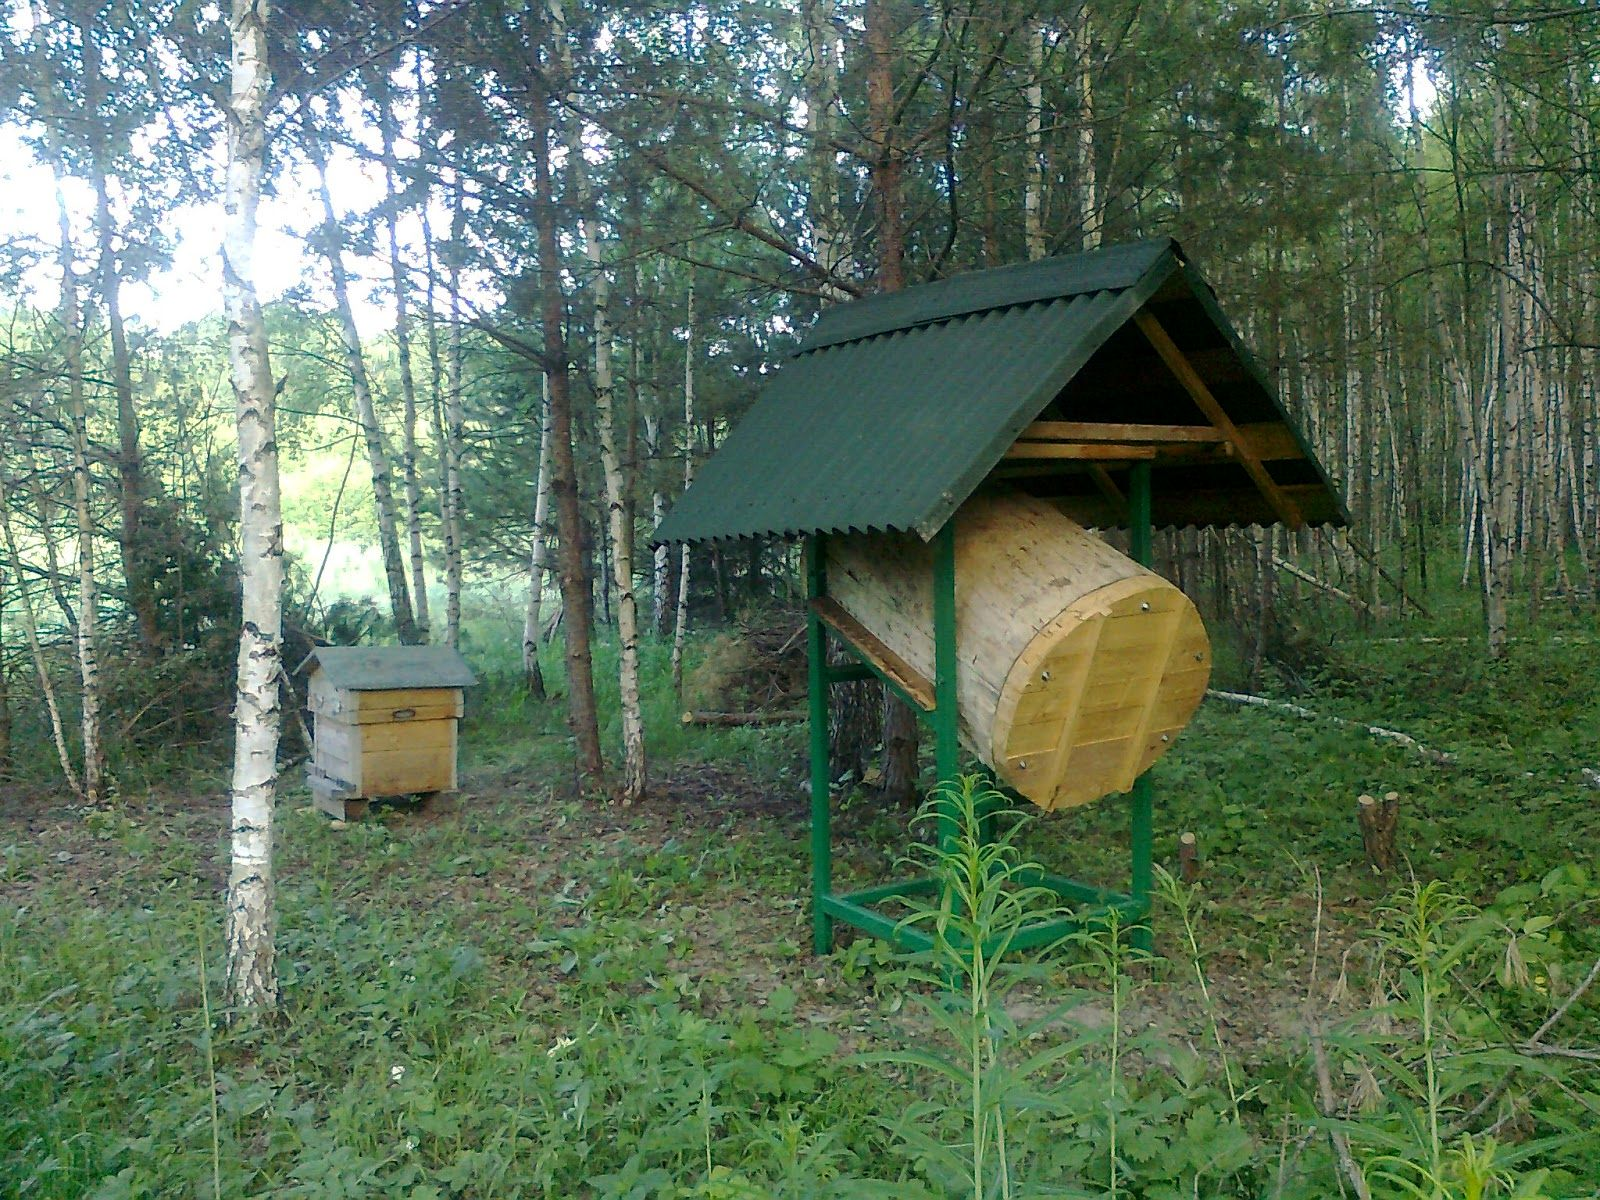
Then I painted the stand with a nice to my eyes green color. I disassembled the entire structure, transferred it to the place of permanent deployment and again put everything together.
然后我画了一个漂亮的眼睛绿色的立场。我拆开了整个结构,将其转移到永久部署的地方,然后再将所有结构放在一起。
In the first year I removed the covers from the ends of the log and gave the log the opportunity to dry out completely. It took me about 1 month to make a log.
在第一年,我从日志的末端移除了封面,并让日志完全变干。我花了大约一个月的时间来记录日志。
圆木巢中的蜜蜂种群
POPULATION OF SWARM IN THE LOG
When, due to my opinion, the log was ready to accept tenants, it was time to think about where to get the new bees. It was possible to buy a bee package through the Internet, or buy a young family from friends beekeepers.
But I decided to go the other way: I made a trap for catching bee swarms and hung it on a suitable tree in my opinion.
Just a couple of days later, a swarm flew into the trap. Apparently, indeed the freshers are lucky. I was very happy!
I put the top cover on the log. I didn't close the lower end of the log for a while. I took out the frames with the bees sitting on them and put them in the lower part of the log, and then I closed the lower end of the log.
From one side of the log along the entire length, but not reaching 20-30 cm to the edge, I drilled holes with a diameter of 10 mm. in advance, just in order for the bees to fly out and fly into their home.
The next day, I excitedly approached the log. I was sure that the bee swarm wouldn't take root and they flew away from the “new building”.
I was worried in vain: the bees were busily flying in and out of the log, carrying a curb and actively occupying their new home: I did it!
当我认为日志已准备好接受租户时,是时候考虑在哪里获得新的蜜蜂了。可以通过互联网购买蜜蜂包装,或者从朋友养蜂人那里购买一个年轻的家庭。
但是我决定采取另一种方式:在我看来,我制作了一个捕捉蜜蜂群的陷阱并把它挂在一棵合适的树上。
几天后,一群人飞进了陷阱。显然,新生确实是幸运的。我很高兴!
我把顶盖放在日志上。我没有关闭日志的下端一段时间。我拿着蜜蜂坐在它们上面并将它们放在原木的下半部分,然后我关闭了原木的下端。
从原木的一侧沿着整个长度,但没有到达边缘20-30厘米,我钻了直径为10毫米的孔。提前,只是为了让蜜蜂飞出去他们的家。
第二天,我兴奋地走近日志。我确信蜜蜂群不会生根,他们会离开“新建筑”。
我白白地担心:蜜蜂忙着飞进原木,带着路边积极地占据他们的新家:我做到了!
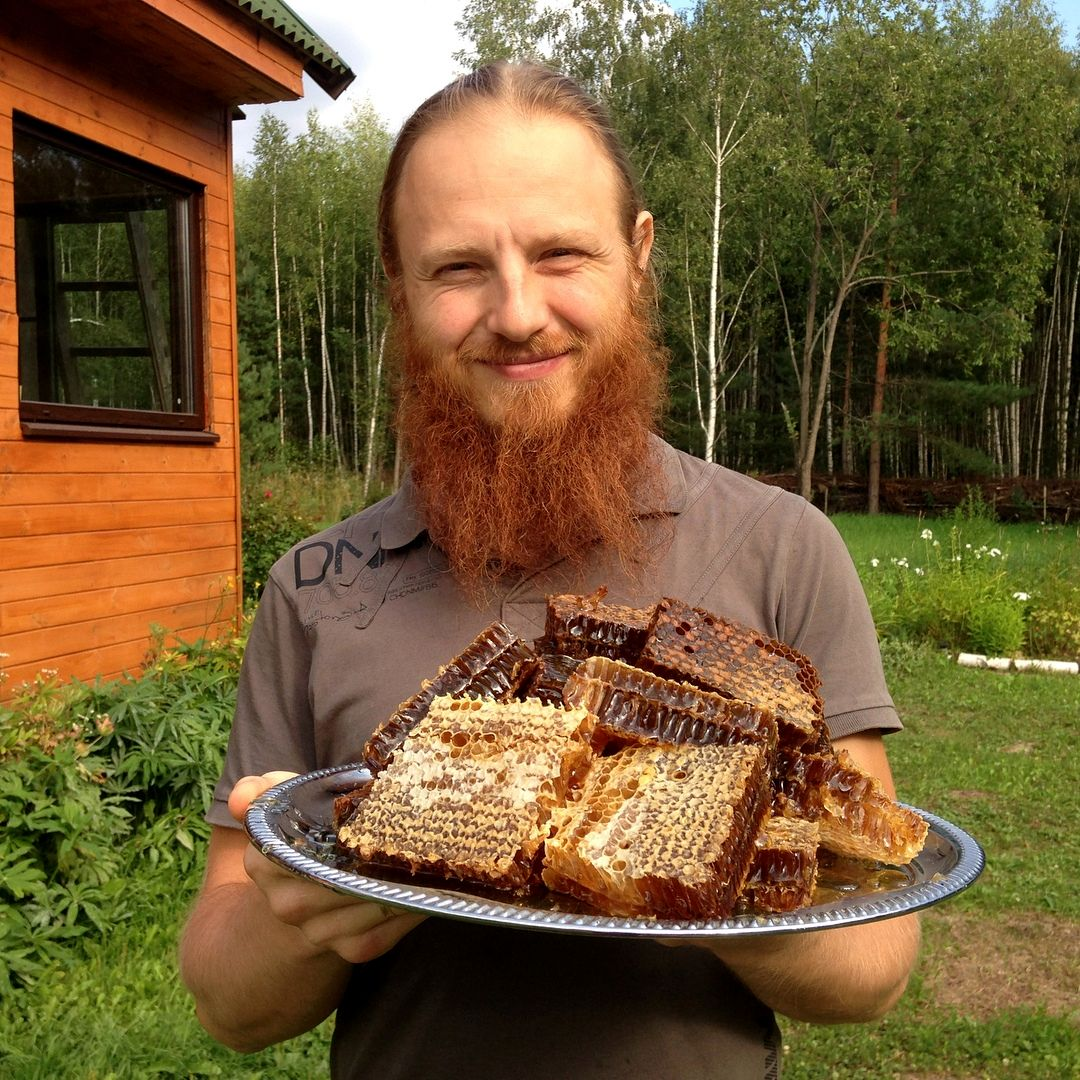
Yevgeny Chertkov的博客
